Drawing old masters self portraits as a way to understand line and edge
In week 3, I took my students through a series of exercises that introduces them a bit deeper into line and edge. I thought about the experience of learning, and that the feeling of process is the goal, not the anticipation of result. How would this feeling of process be convey?
Let’s use the analogy of cooking. And perhaps also an analogy of playing music.
We are not going to focus on results yet because we haven’t got the basic understanding of the ingredients to judge this soup we’re trying to make. The feeling of process is the backbone of cooking. I know what the soup is supposed to taste like, but I don’t quite understand my ingredients in such a way that I could imagine the smell or taste of this soup. So this process goal towards line drawing a portrait is similar to exploring the ingredients, the framework of the soup.
In another analogy, we have to understand scales before we can compose a melody, and in between that we have to learn how to play the instruments. Process goal is when we’re awkwardly handling our instruments, and badly playing because we’re new to it. It wouldn’t be too hard to expect that the sound will be terrible for a while. The sound is an example of result goal.
Scales in musical instruments, is similar to the skills we will develop in using our instruments. Our art supplies are the instruments. And as for the soup, our drawing skills and the techniques and methods are all the ingredients. The ‘cooking’ part is when we sit and practice, and crank out possible mediocre soups for the first time, and as we get used to how the soup’s changing, we will eventually make better tasting soups. Sorry if this analogy is a little steep. And yes pun intended.

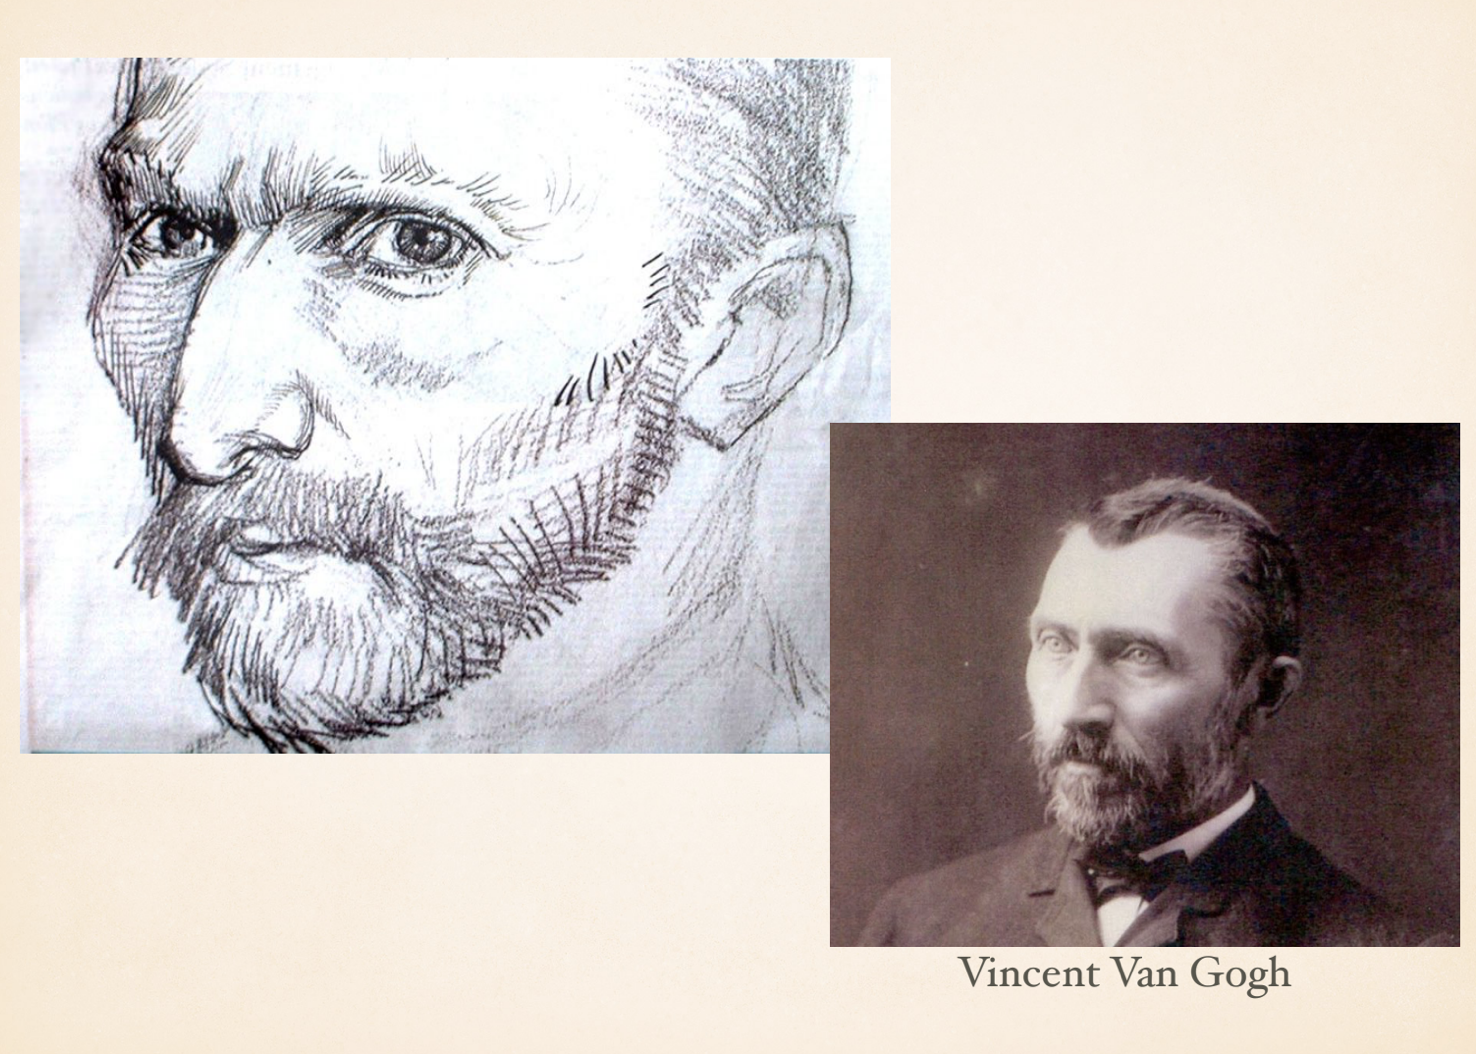
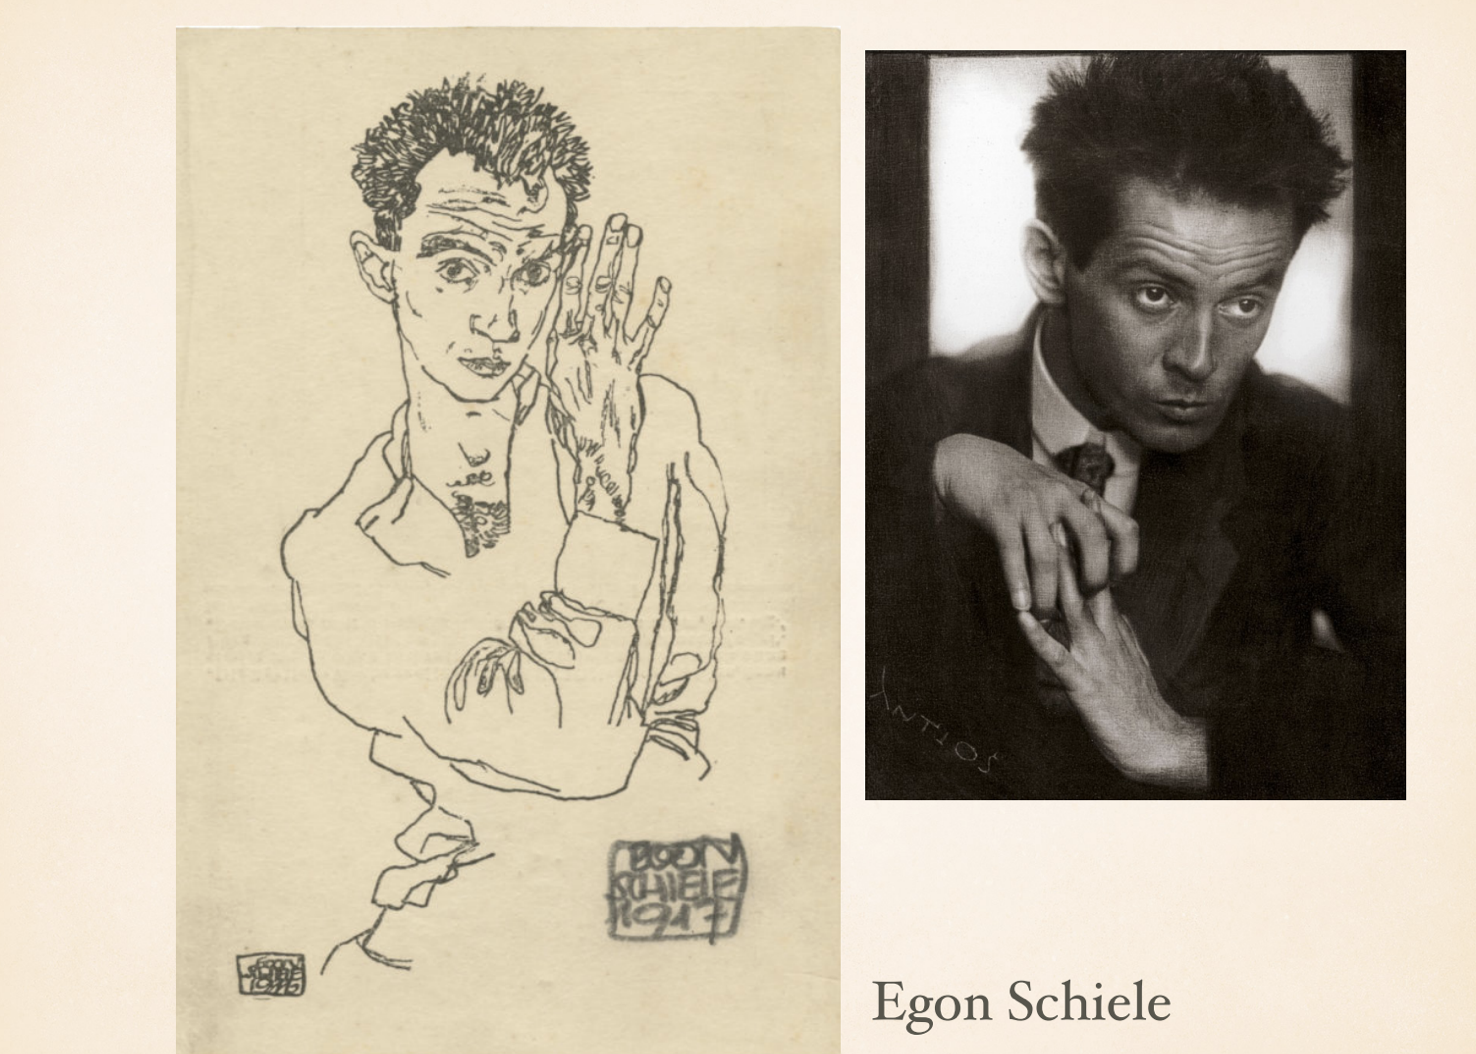
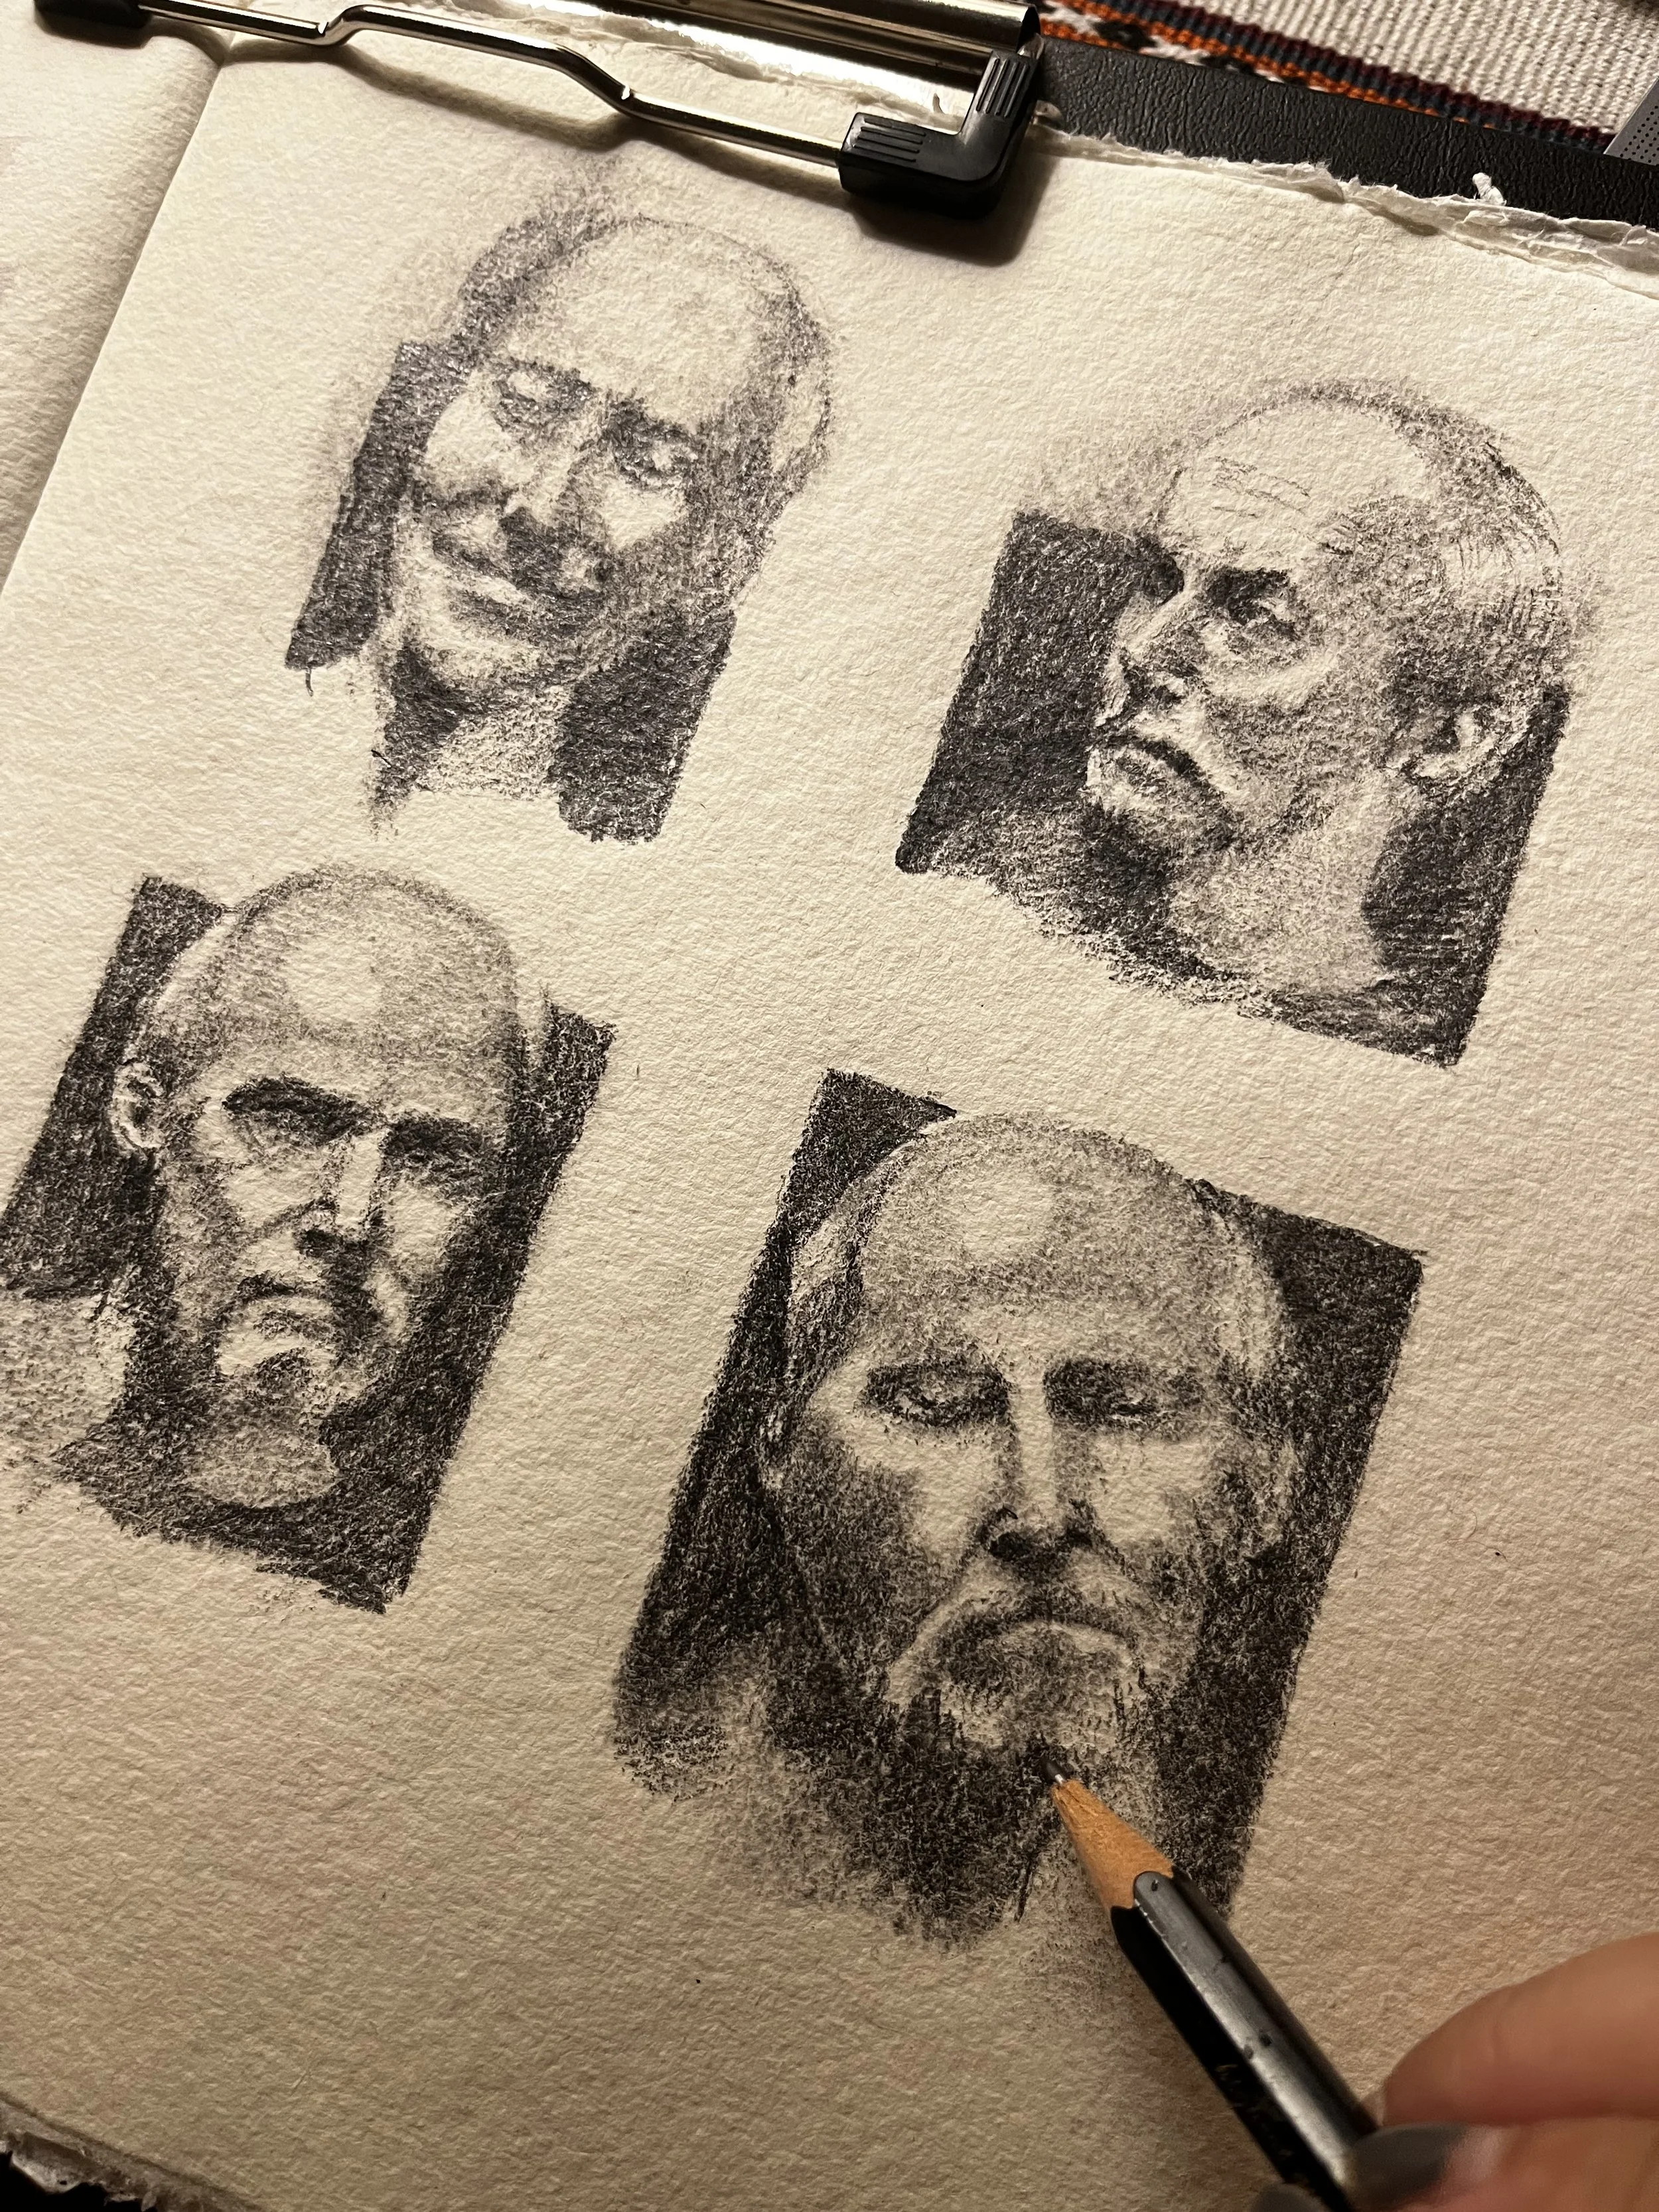
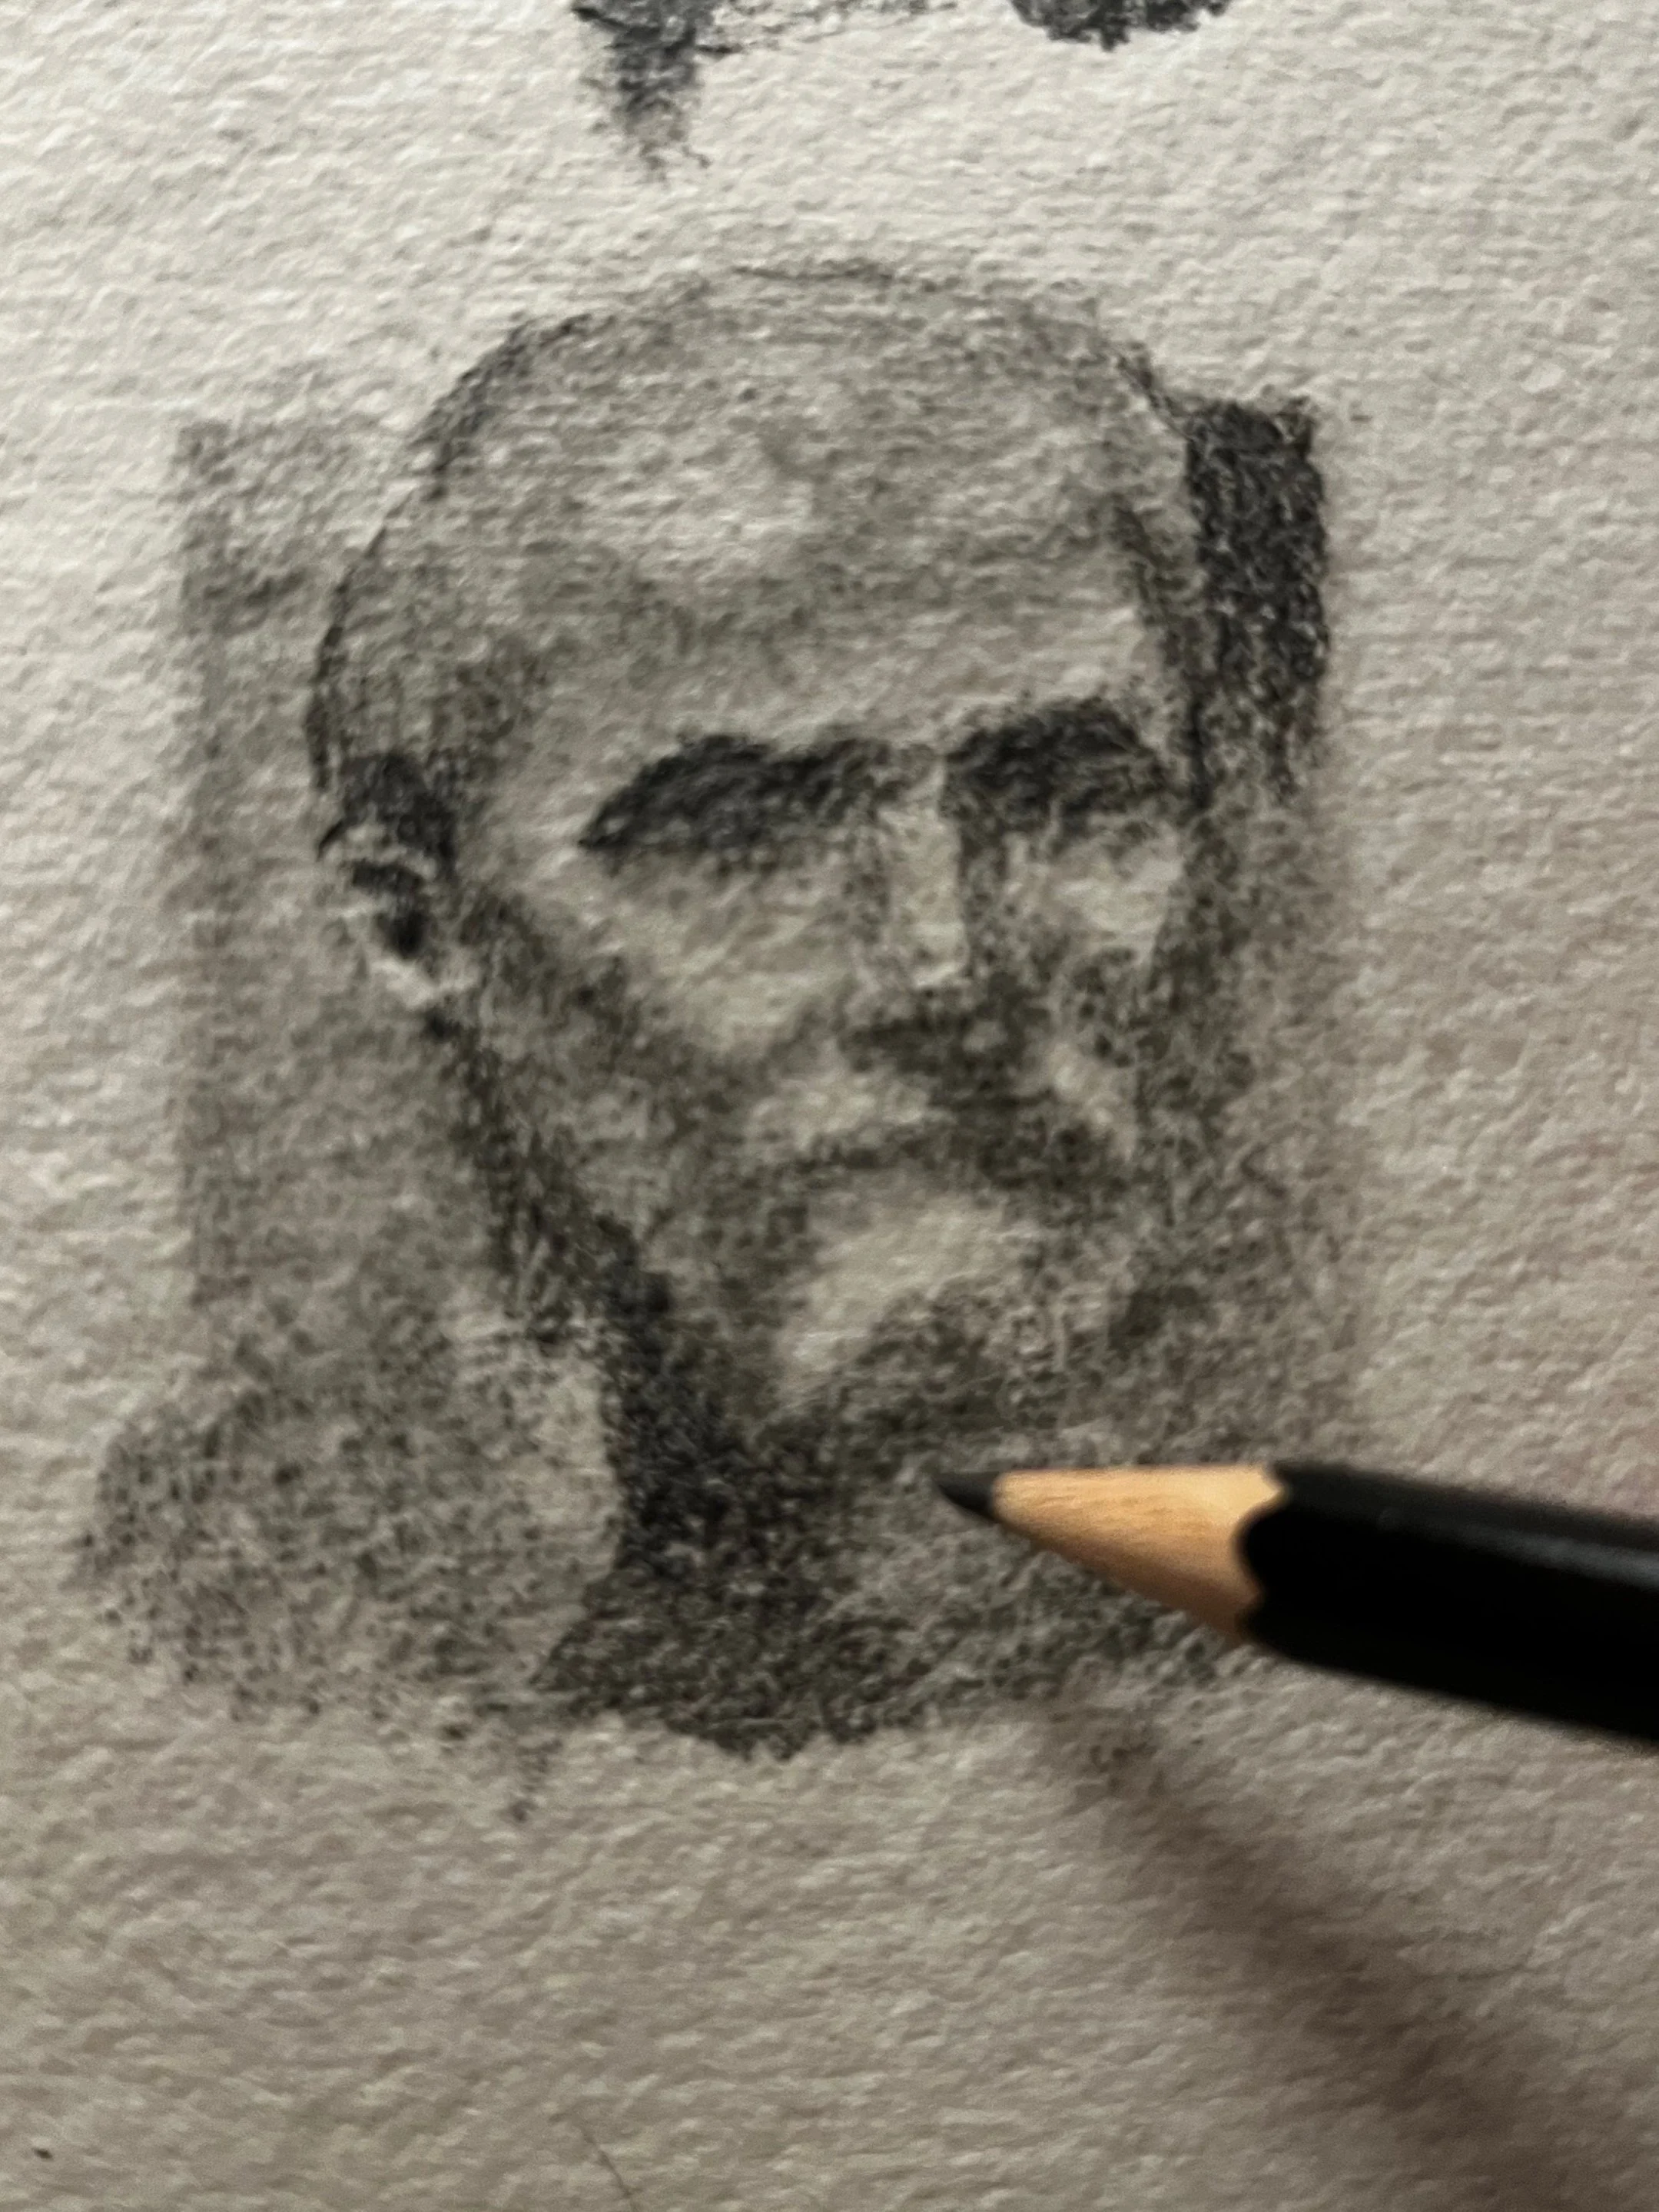
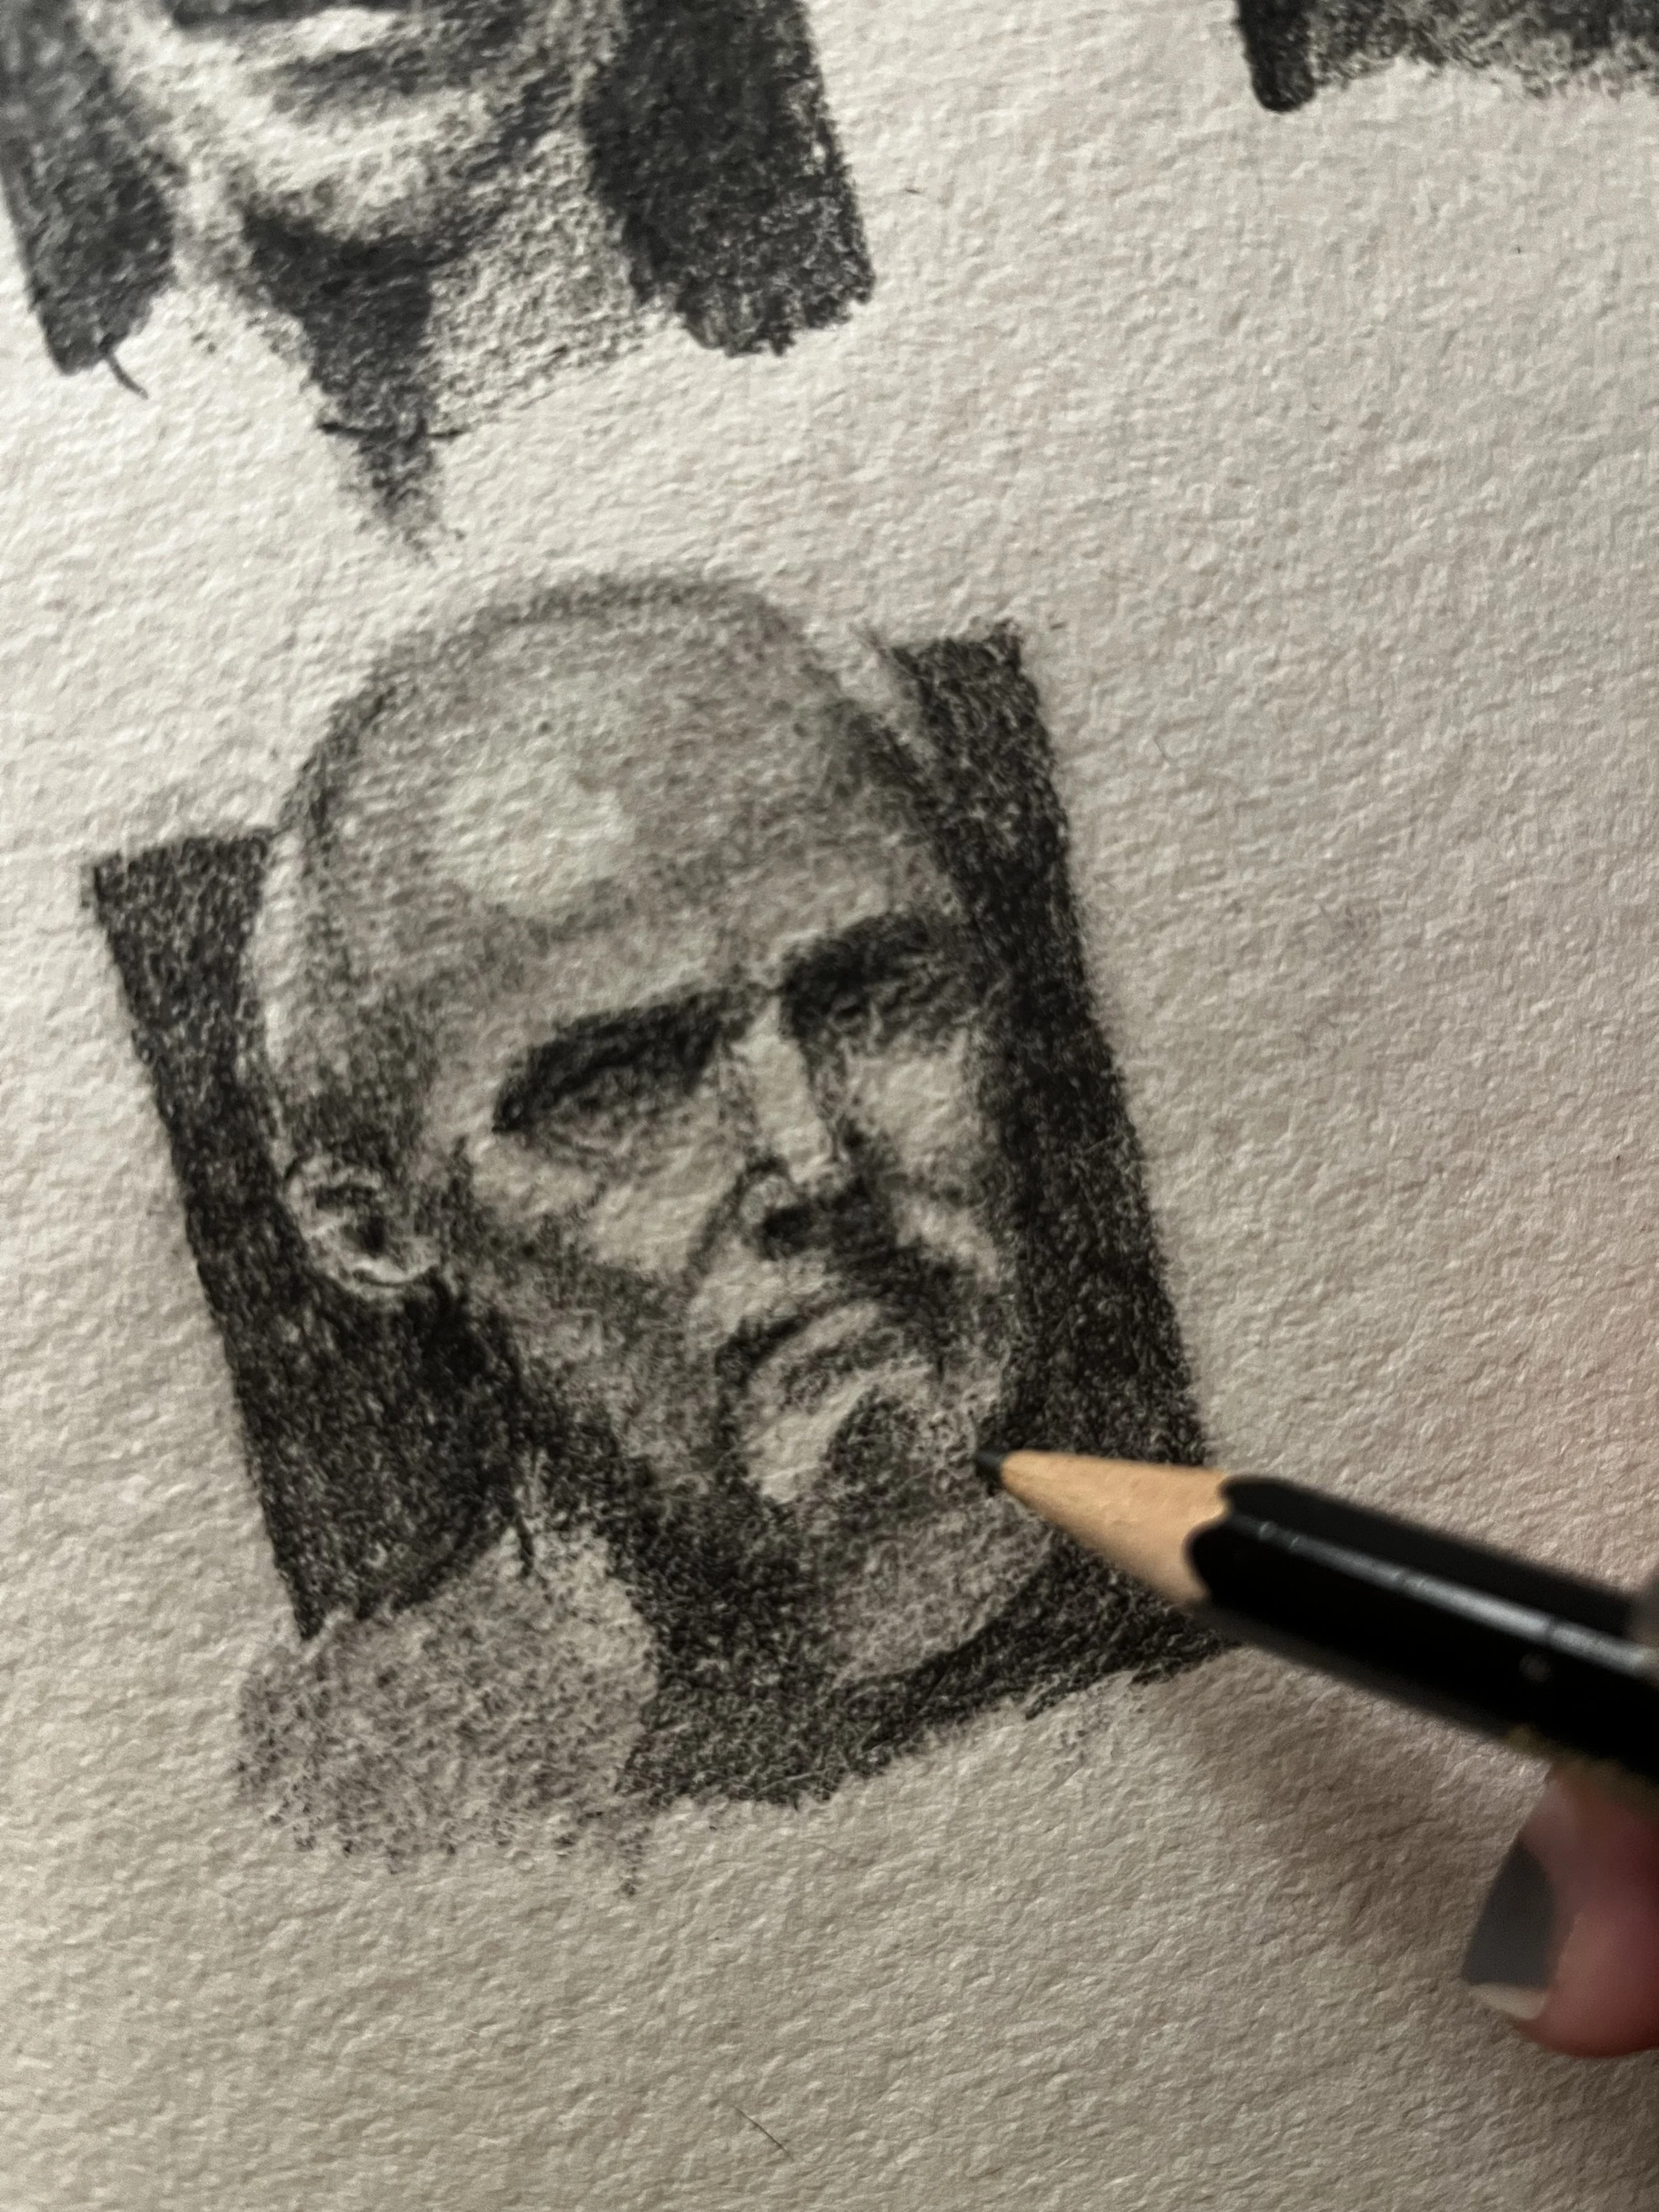
So back to the music analogy. This is the instrument class. Learn how to play your instruments by analysing great old masters such as Vincent Van Gogh, Rembrandt and modern master, and one of my favourite artists of all time, Egon Schiele. How they skill-fully use their instruments is visible in their drawings. All of these drawings are produced by the artists while looking at a mirror. So what you’re essentially seeing is the reflection of their faces, and as viewer of these drawings, we are shown what they see. Shown next to their drawings are old photograph I could find of the artists, except for Rembrandt because in his time, cameras were not yet invented. Rembrandt however was known to be the selfie artist of his time. About 100 of his self portraits exists today, and lots of sketches, and 40 oil paintings.
Have a look at this article that I found about it. https://www.irishtimes.com/culture/art-and-design/visual-art/rembrandt-the-first-great-selfie-artist-1.3799019
This process goal method of learning also will give students an opportunity to grapple with methods to measure the ideal proportion of a face. Which is in itself the basic cooking technique or the playing technique for drawing the face.
Pencil Studies
Contrast studies,
More definition of features
First, what do we know about faces? No, not that they’re hard to draw, or incredibly complicated and realism is impossible to achieve, but that every face is unique. No two faces are the same, even in identical twins. What is reflected in those faces are also expression, demeanour, vibe or mood. So those are the last things to learn, the gestalt that nobody can teach you but yourself through practice.

Ok, Susan, so if every face is unique, we’re going to learn construction of the ideal human face according to who? someone might ask.
Ideal to the artist who’s drawing it, of course. But in art education, we are really lucky that some of these artists also teach. And some of the method are so useful, and so clever, I’d like to get right into one of my favourite portrait construction taught by American Illustrator, art instructor and author Andrew Loomis. He wrote about 7 books about drawing, and is well known in the illustration world for his realistic style of drawing people and faces. He’s in the ilk of Normal Rockwell, in that his American realism style of illustrating is very popular until today. Some of his books are out of print and has become collectible.
I’ve been using Andrew Loomis’s head proportions to teach the construction of head in my Fashion Portrait class for some years now, and his book titled Drawing the Heads and Hands, first published in 1943 is still being used and referred to in art schools around the world. Loomis’s method is to simplify the shape of heads into it’s basic shape, which is a flattened ball, and this ball represents the cranium of the skull. Cutting through its axis is an imaginary nail, and the nail represents the angle of the head, as it sits perpendicular to the shoulder. The flattened part is what might look like a disk, is the area around the ears, and is divided into 4 equal slice, and one of the slice is where the ears reside.
The way I segment the 3 hours we have in class is to start the first half with analysing old masters techniques of drawing their self portrait. Here I use three sketches by prominent old masters, Rembrandt, Van Gogh, and Egan Schiele. The chosen images are pencil drawing and etching that prominently shows the use of lines. I intentionally wanted to explore this because we can learn so much by just combining the felt sensation of drawing, while slowly infused by masterful artists’s works, as we absorb and marinate by drawing. Yes someone can call it copying, but this is more than that.
The second half of the class, we grapple with proportion and constructions, and we draw a lot from Andrew Loomis’s pages of head drawings. Imagine how much he’s learning just from drawing for his book? The pages we focus on in this class is the basic framework of a head drawn three dimensionally.

I also touch on YouTube art teacher Stan Prokopenko’s modified construction of the head because he has simplified the understanding of the head in the context of volume in space, affected by perspective, where the ball lives within a cube. Essentially like a sculptor, you could chip away at edges of a cube and you would eventually get the shape of the head. Enough of the analogies, Susan.
I realise that 3 hours is barely touching the surface of what is to be learned about portrait drawing. But this is an introduction class after all. In week’s to come, there will be one other class dedicated to portrait and heads and in that class, we will return to these theories and methods and apply it to images or if at all possible real life models to observed directly from.
Originally these classes are meant to be using our own face and our classmates faces to observe, however because we’re still in a pandemic state of slow recovery, we cannot sit without a mask in a classroom anymore, let alone look at a friendly face to draw without a mask on. Therein lies the extra challenge but it is not all lost. There’s proportions within a masked face, and there’s a lot to observe and draw even with a mask on. Naturally our focus is no longer on the features we cannot see, but on the features we can.
Looking for moments of stillness in your busy week? I recommend a timed 45 minutes to an hour of drawing exercises of your choice. It must not feel like a chore. It is something to look forward to, and to be slightly excited about, otherwise, you won’t stick to it as a new routine.
That, should you choose to accept it, is your homework.
See you in the next post,
Susan