The one where I did not erase my mistakes - Portrait pencil practice.
There are many ways you can draw a portrait. I won’t be teaching you all the ways for that’s an impossibility. I will just show you one way I do it, with warts (mistakes) and all, using a classical image of David, a sculpture made by Michaelangelo.
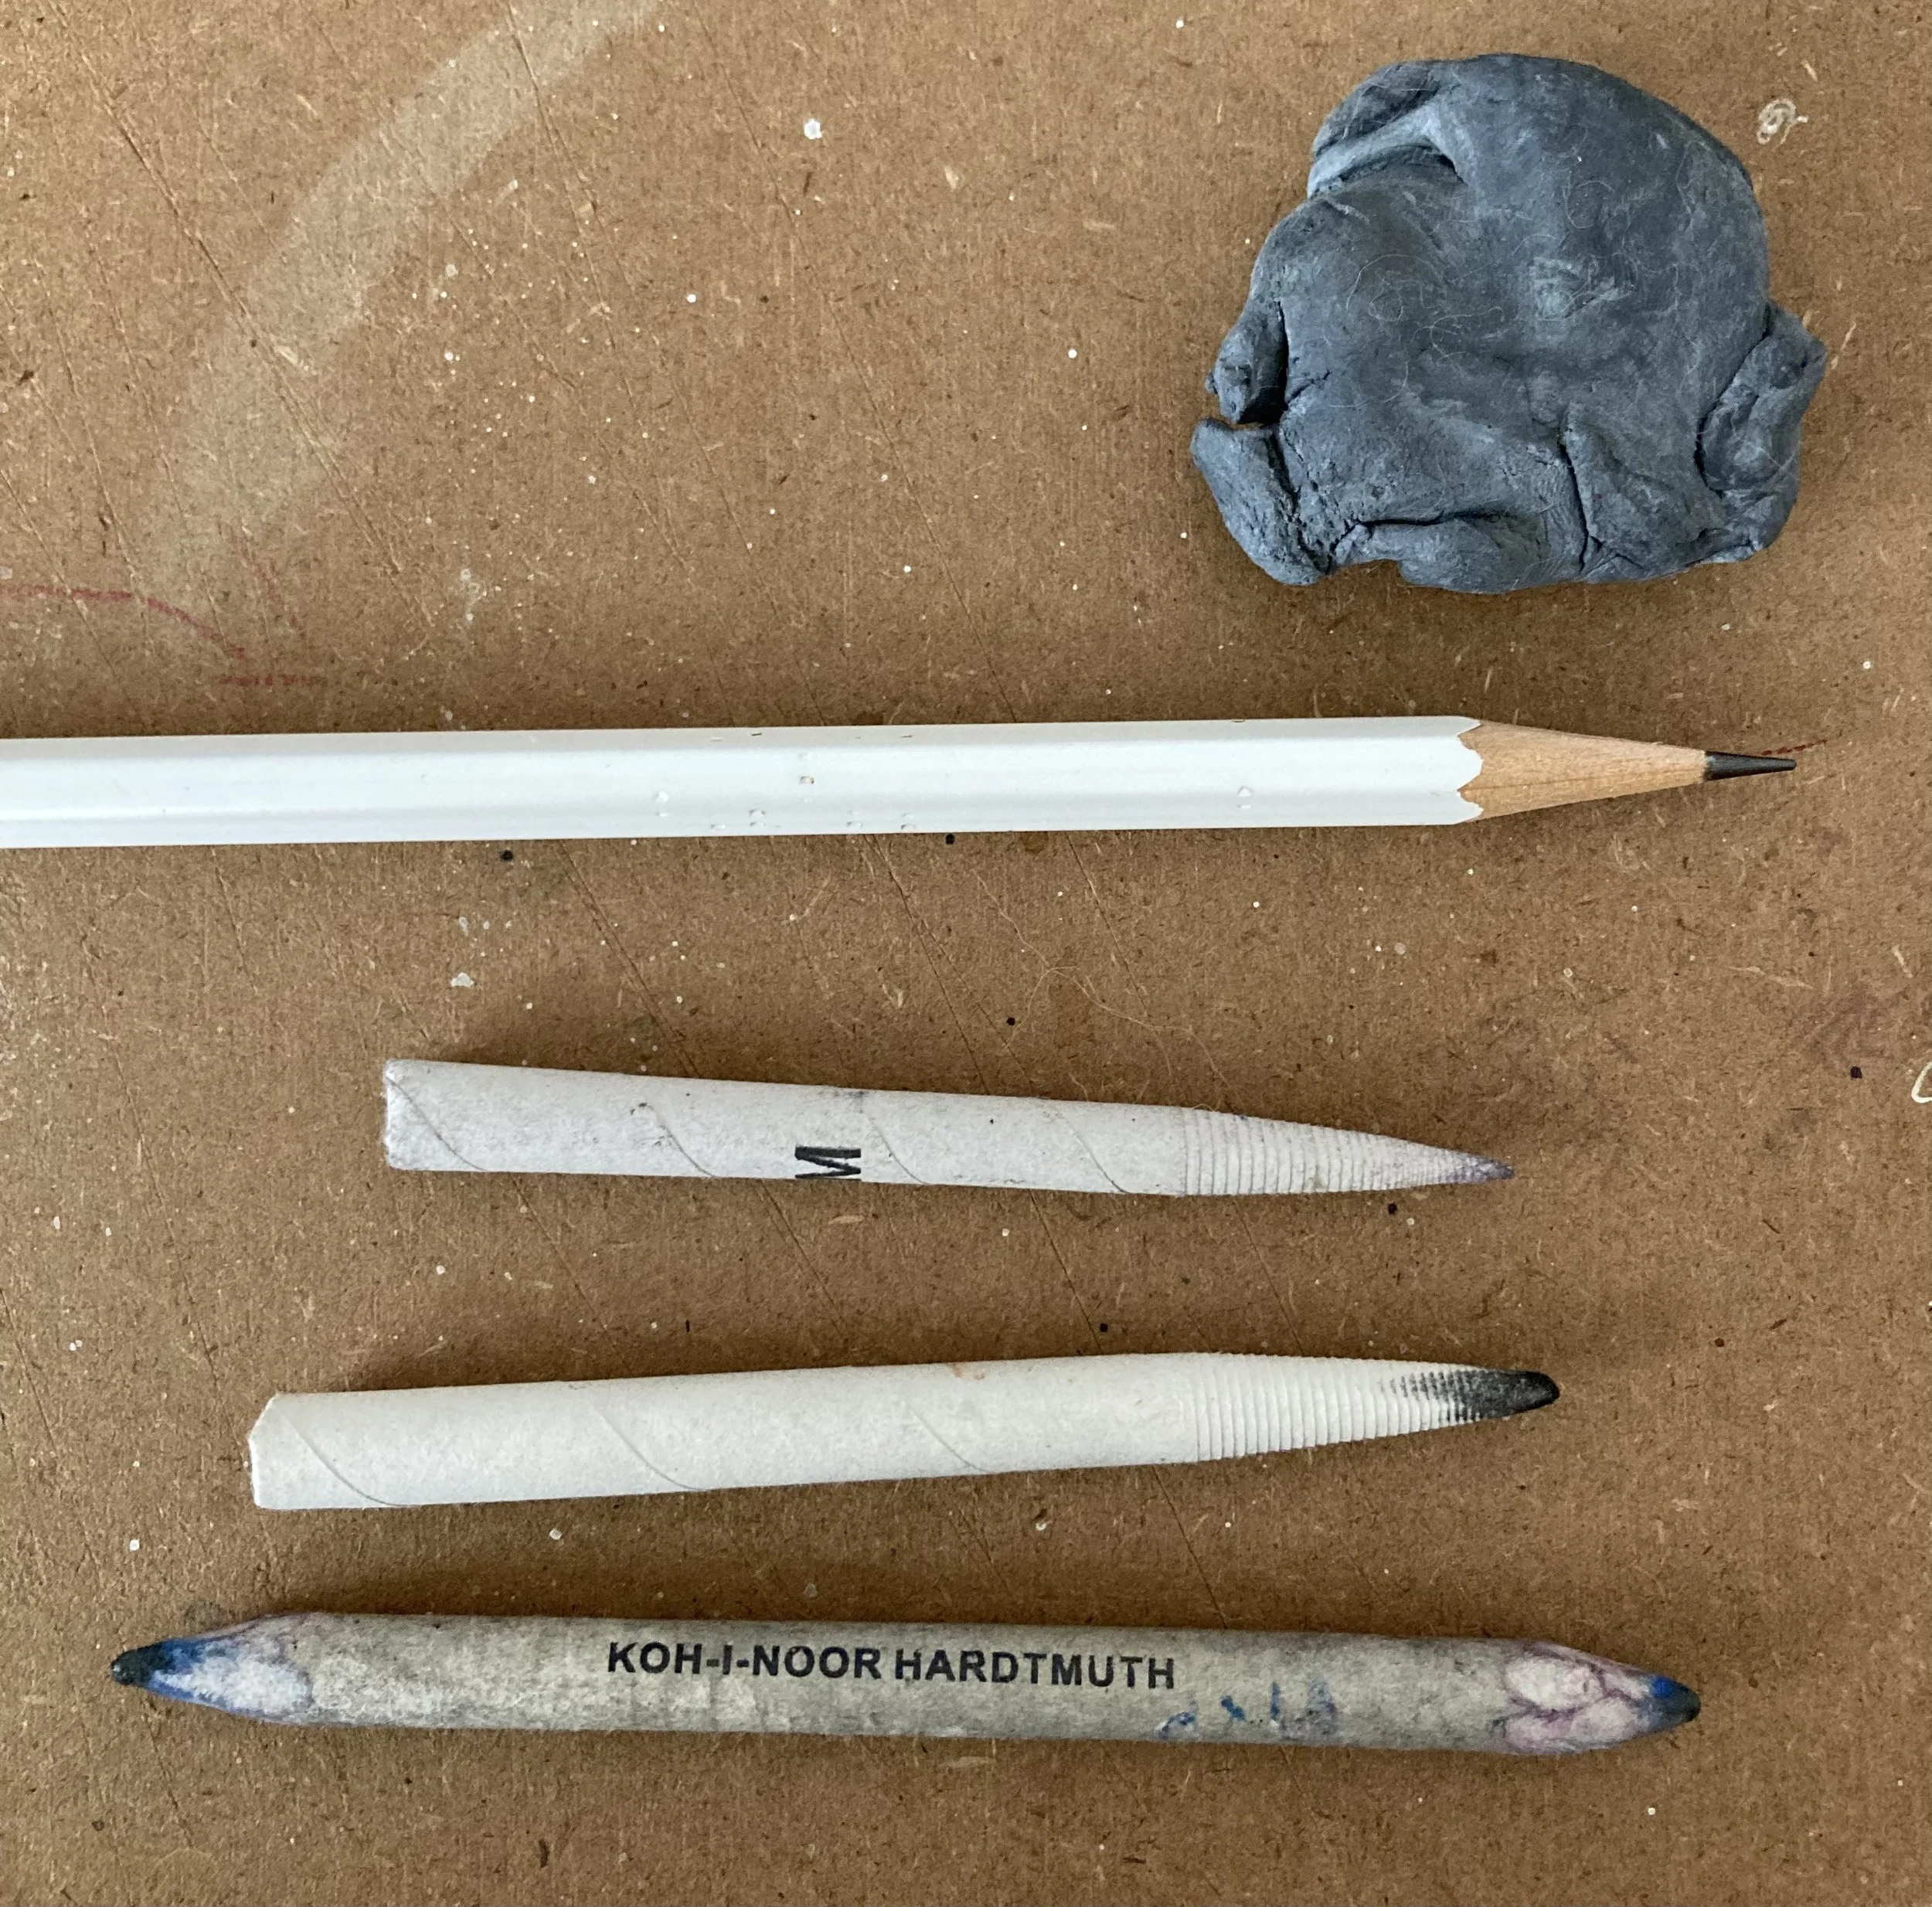
The image reference is taken from this Pinterest image. I am using a 2B pencil, a blending stump and a putty eraser.
The sculpture is absolutely stunning, and it captured David’s expression of confused aggression that is challenging to express but that’s the last thing to worry about.
The following images shows the first few steps I take to start this portrait. The reason why classical studios of the 18th century use busts or sculptures to train drawing and painting, is because they were produced with skill, and they are absent of colour, which makes identifying shades and values much easier in drawing exercises.

Step 1. search line determines size and proportion
The biggest shape is the whole shape of David’s head, and that’s what I always sketch out first, not with precisions, just a searching line kind of sketch, to determine the size and proportion. Then I start to lightly shade areas of his face which will be in the shadows, these areas tend to be in the same place for all portraits poses. The eye socket, and under the nose are normally shaded and when done, it gives the head shape a feature structure.
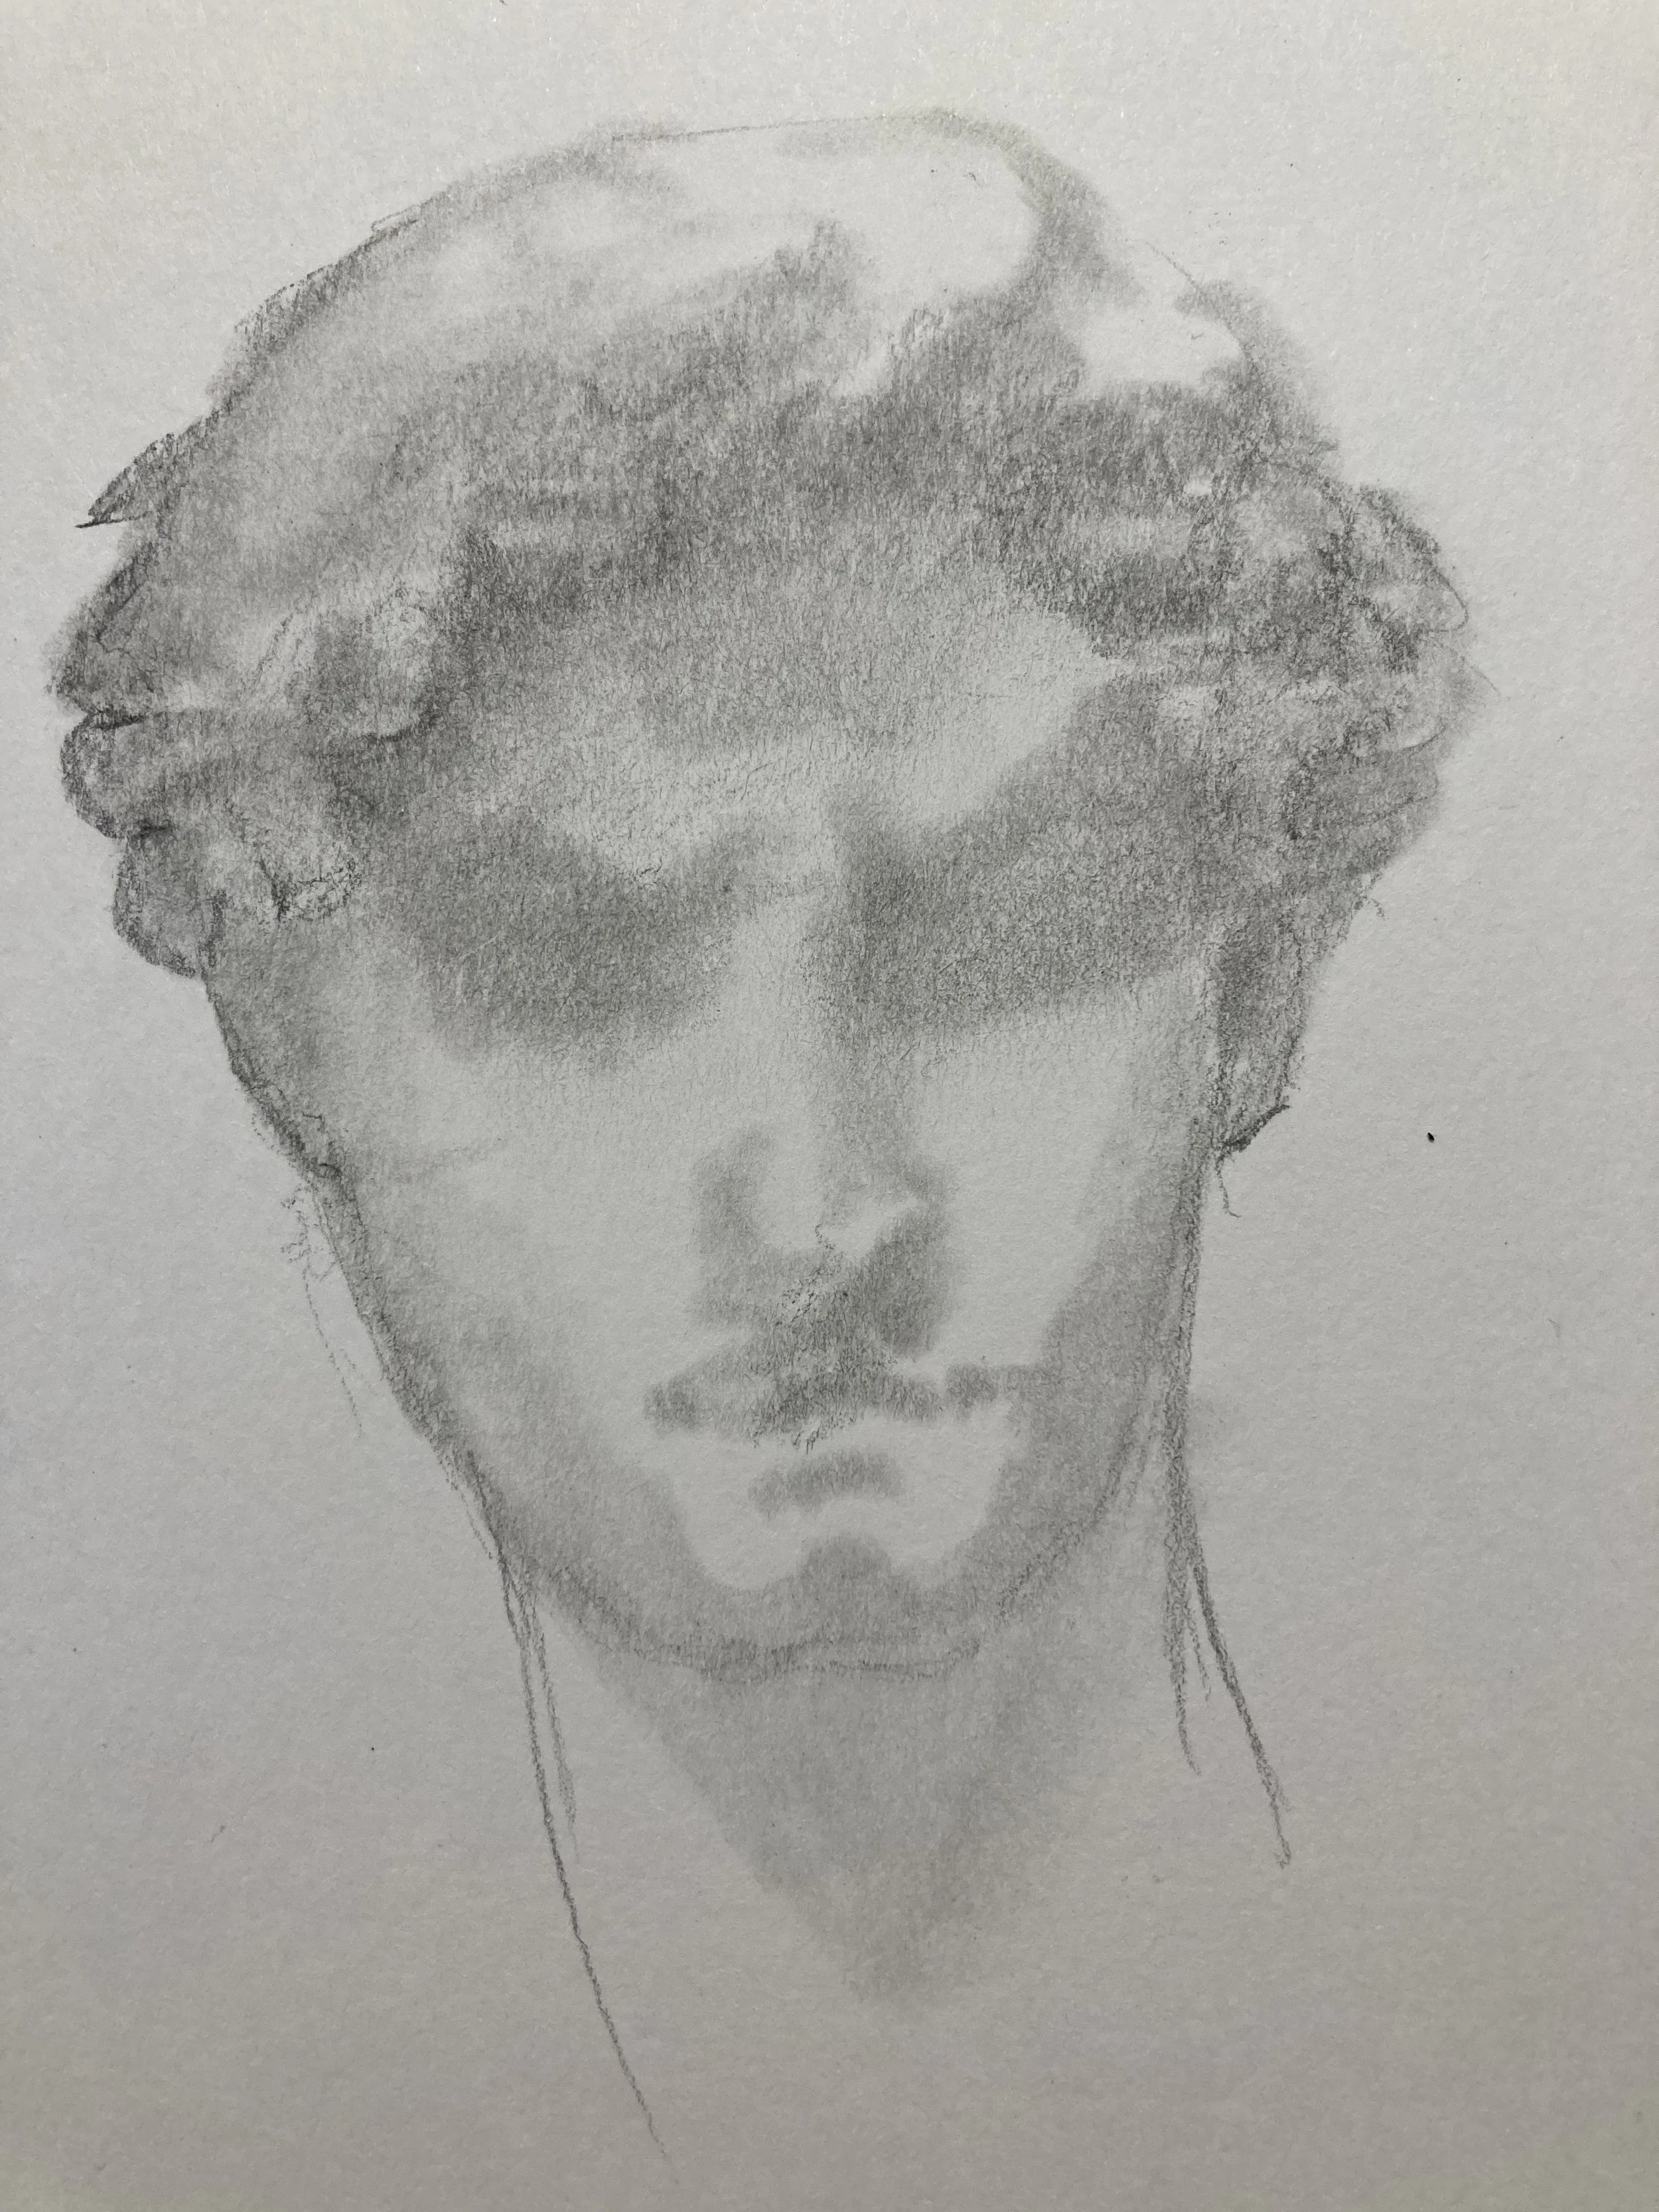
Step 2. Blend bigger medium value shapes
I started to smudge my pencil drawings to create bigger shapes that makes up the general medium dark values of the portrait like this, I use a blending stump or a tortillion to do this because it’s pointy tip makes blending darker shapes to medium dark more accurate. If you’re using your finger to blend, that’s okay too, but it doesn’t tend to be as good a point and your fingers can excrete more oil that would penetrate the drawing paper in a way you might not want.
Step 3. Enforce those shapes
The blending stump, and the pencil are used interchangeably at the next stage as I also began to enforce the darker shapes on his hair and neck.
The next thing I do, using a putty eraser is to start taking some of the graphite away, in very specific areas such as the white of the eyes, and parts of his forehead, where the blend might be too smooth. Even on a portrait, I have to leave some lighter values and white so the drawing has breathing spaces for The Eye. This is the stage called the Ugly Stage, where the portrait is beginning to take shape but is still in a rough state.
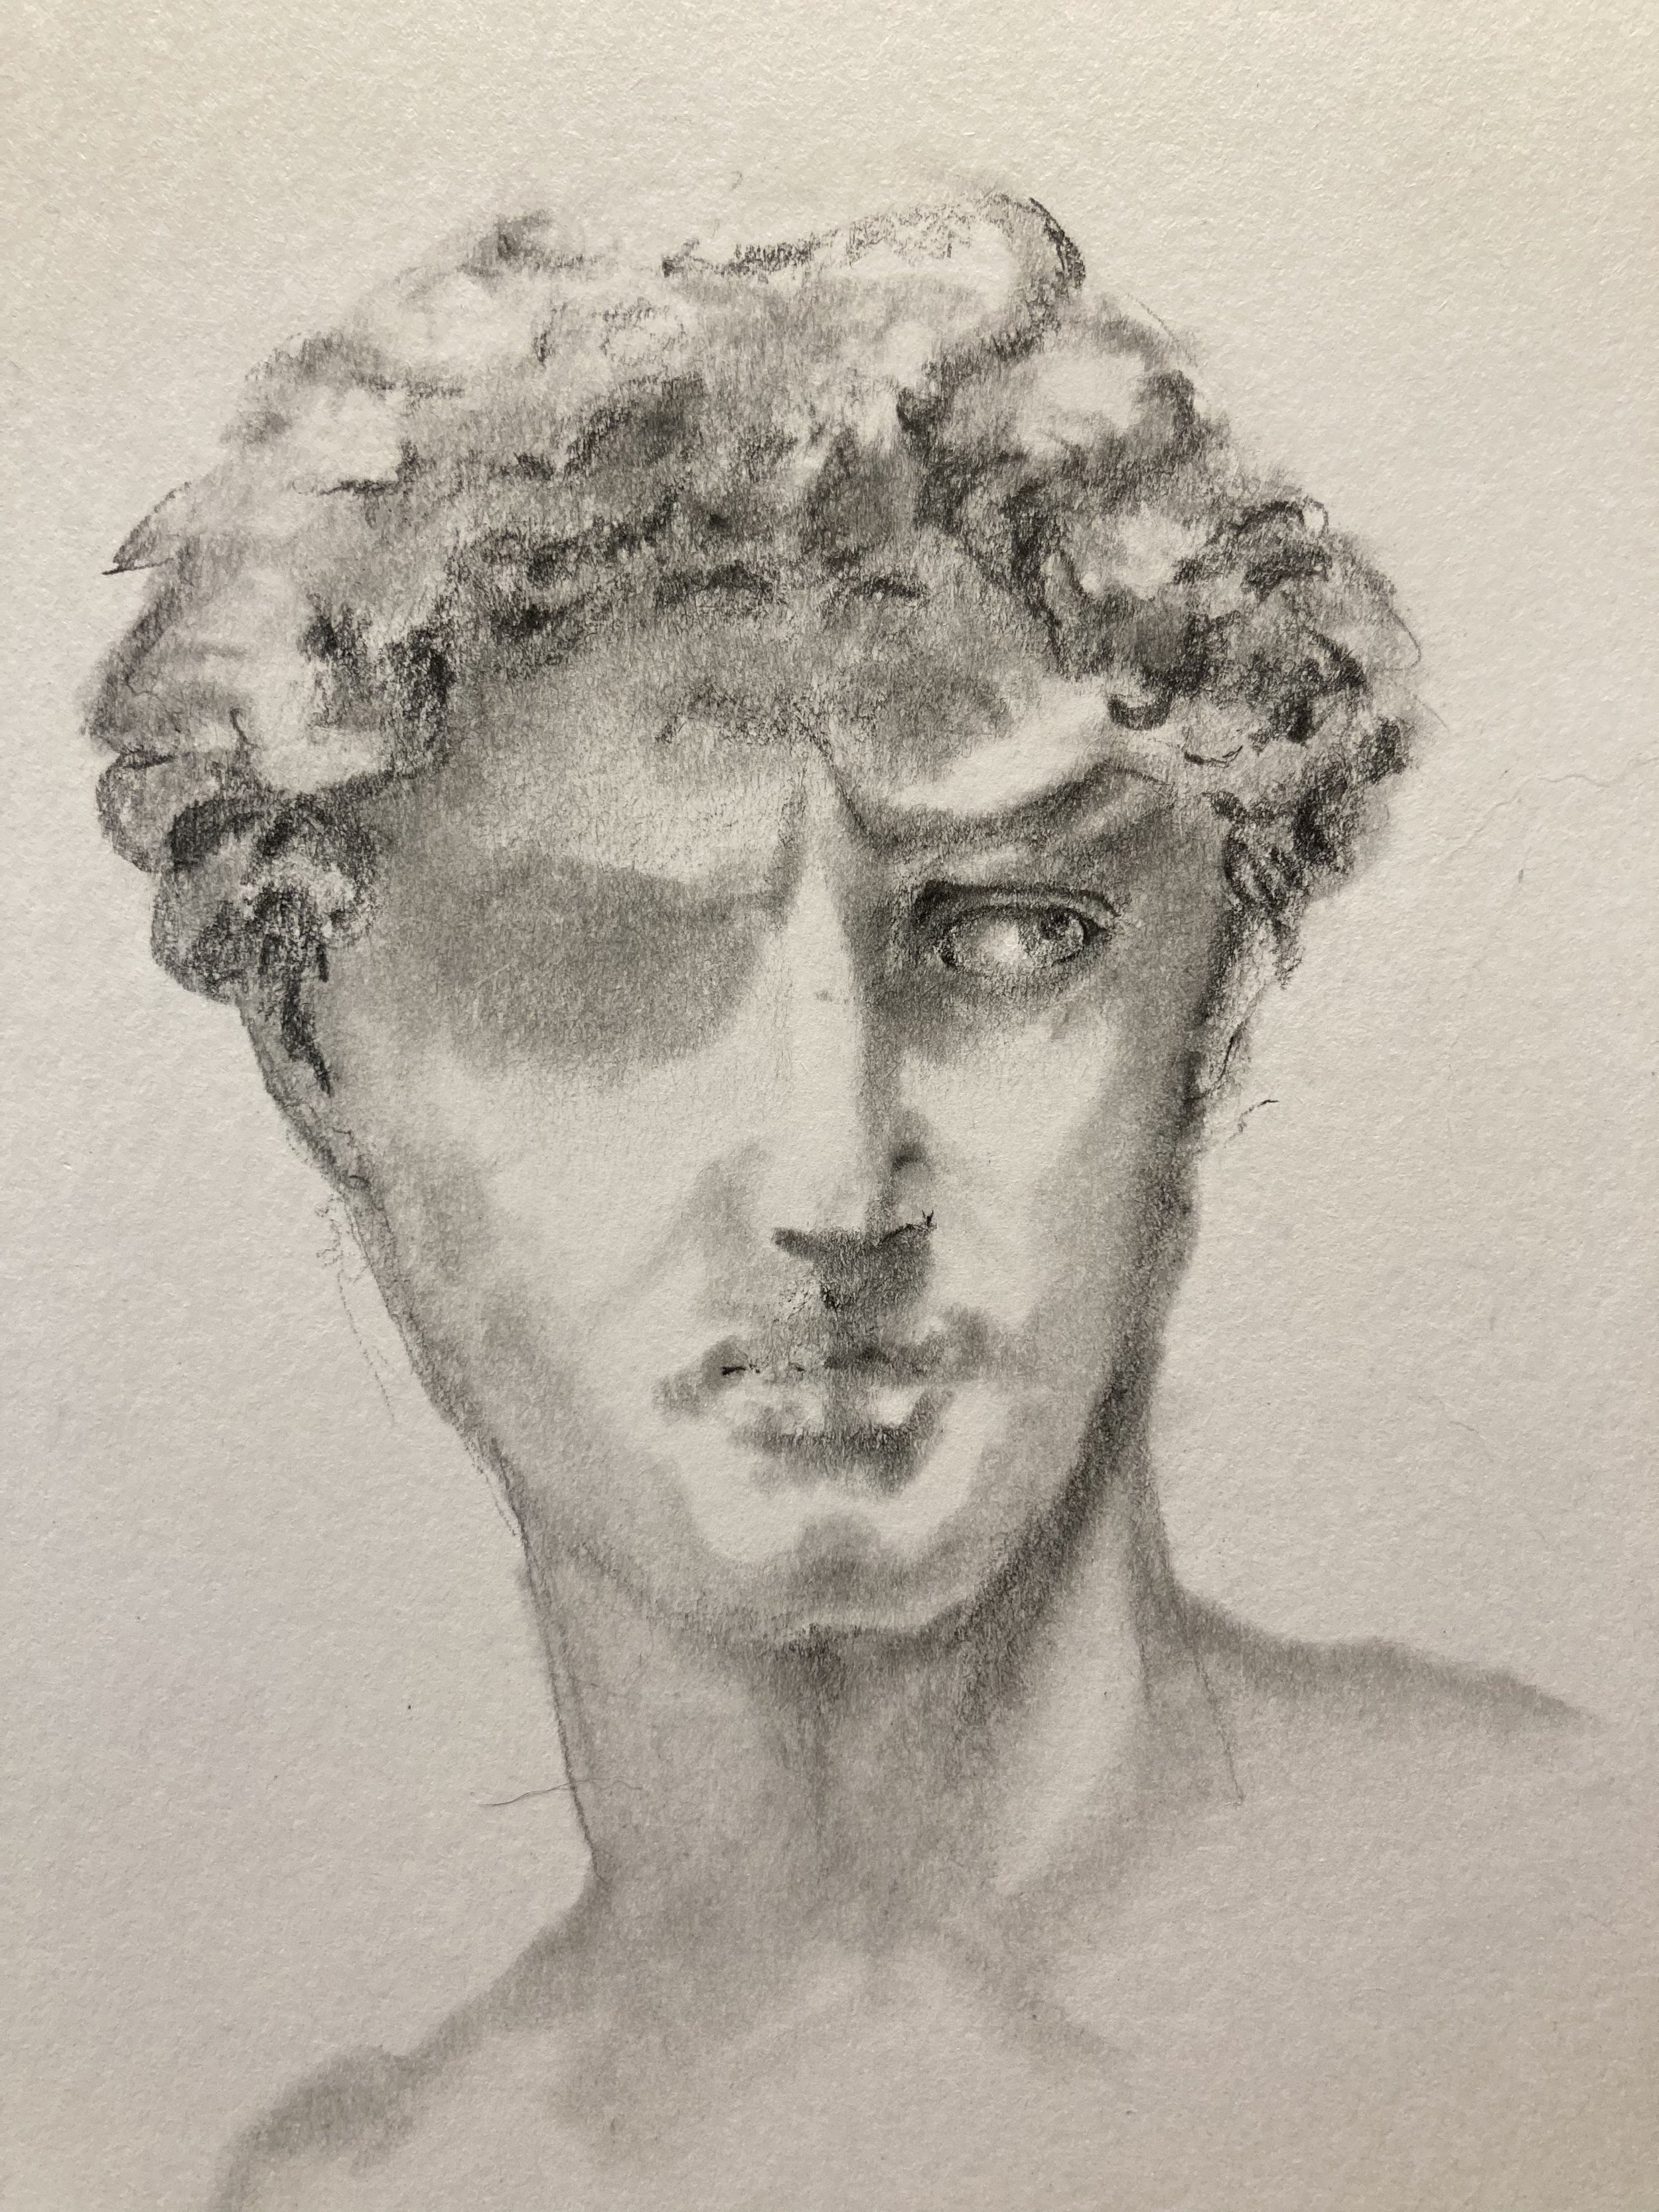
An ugly stage of raw and unfinished drawing
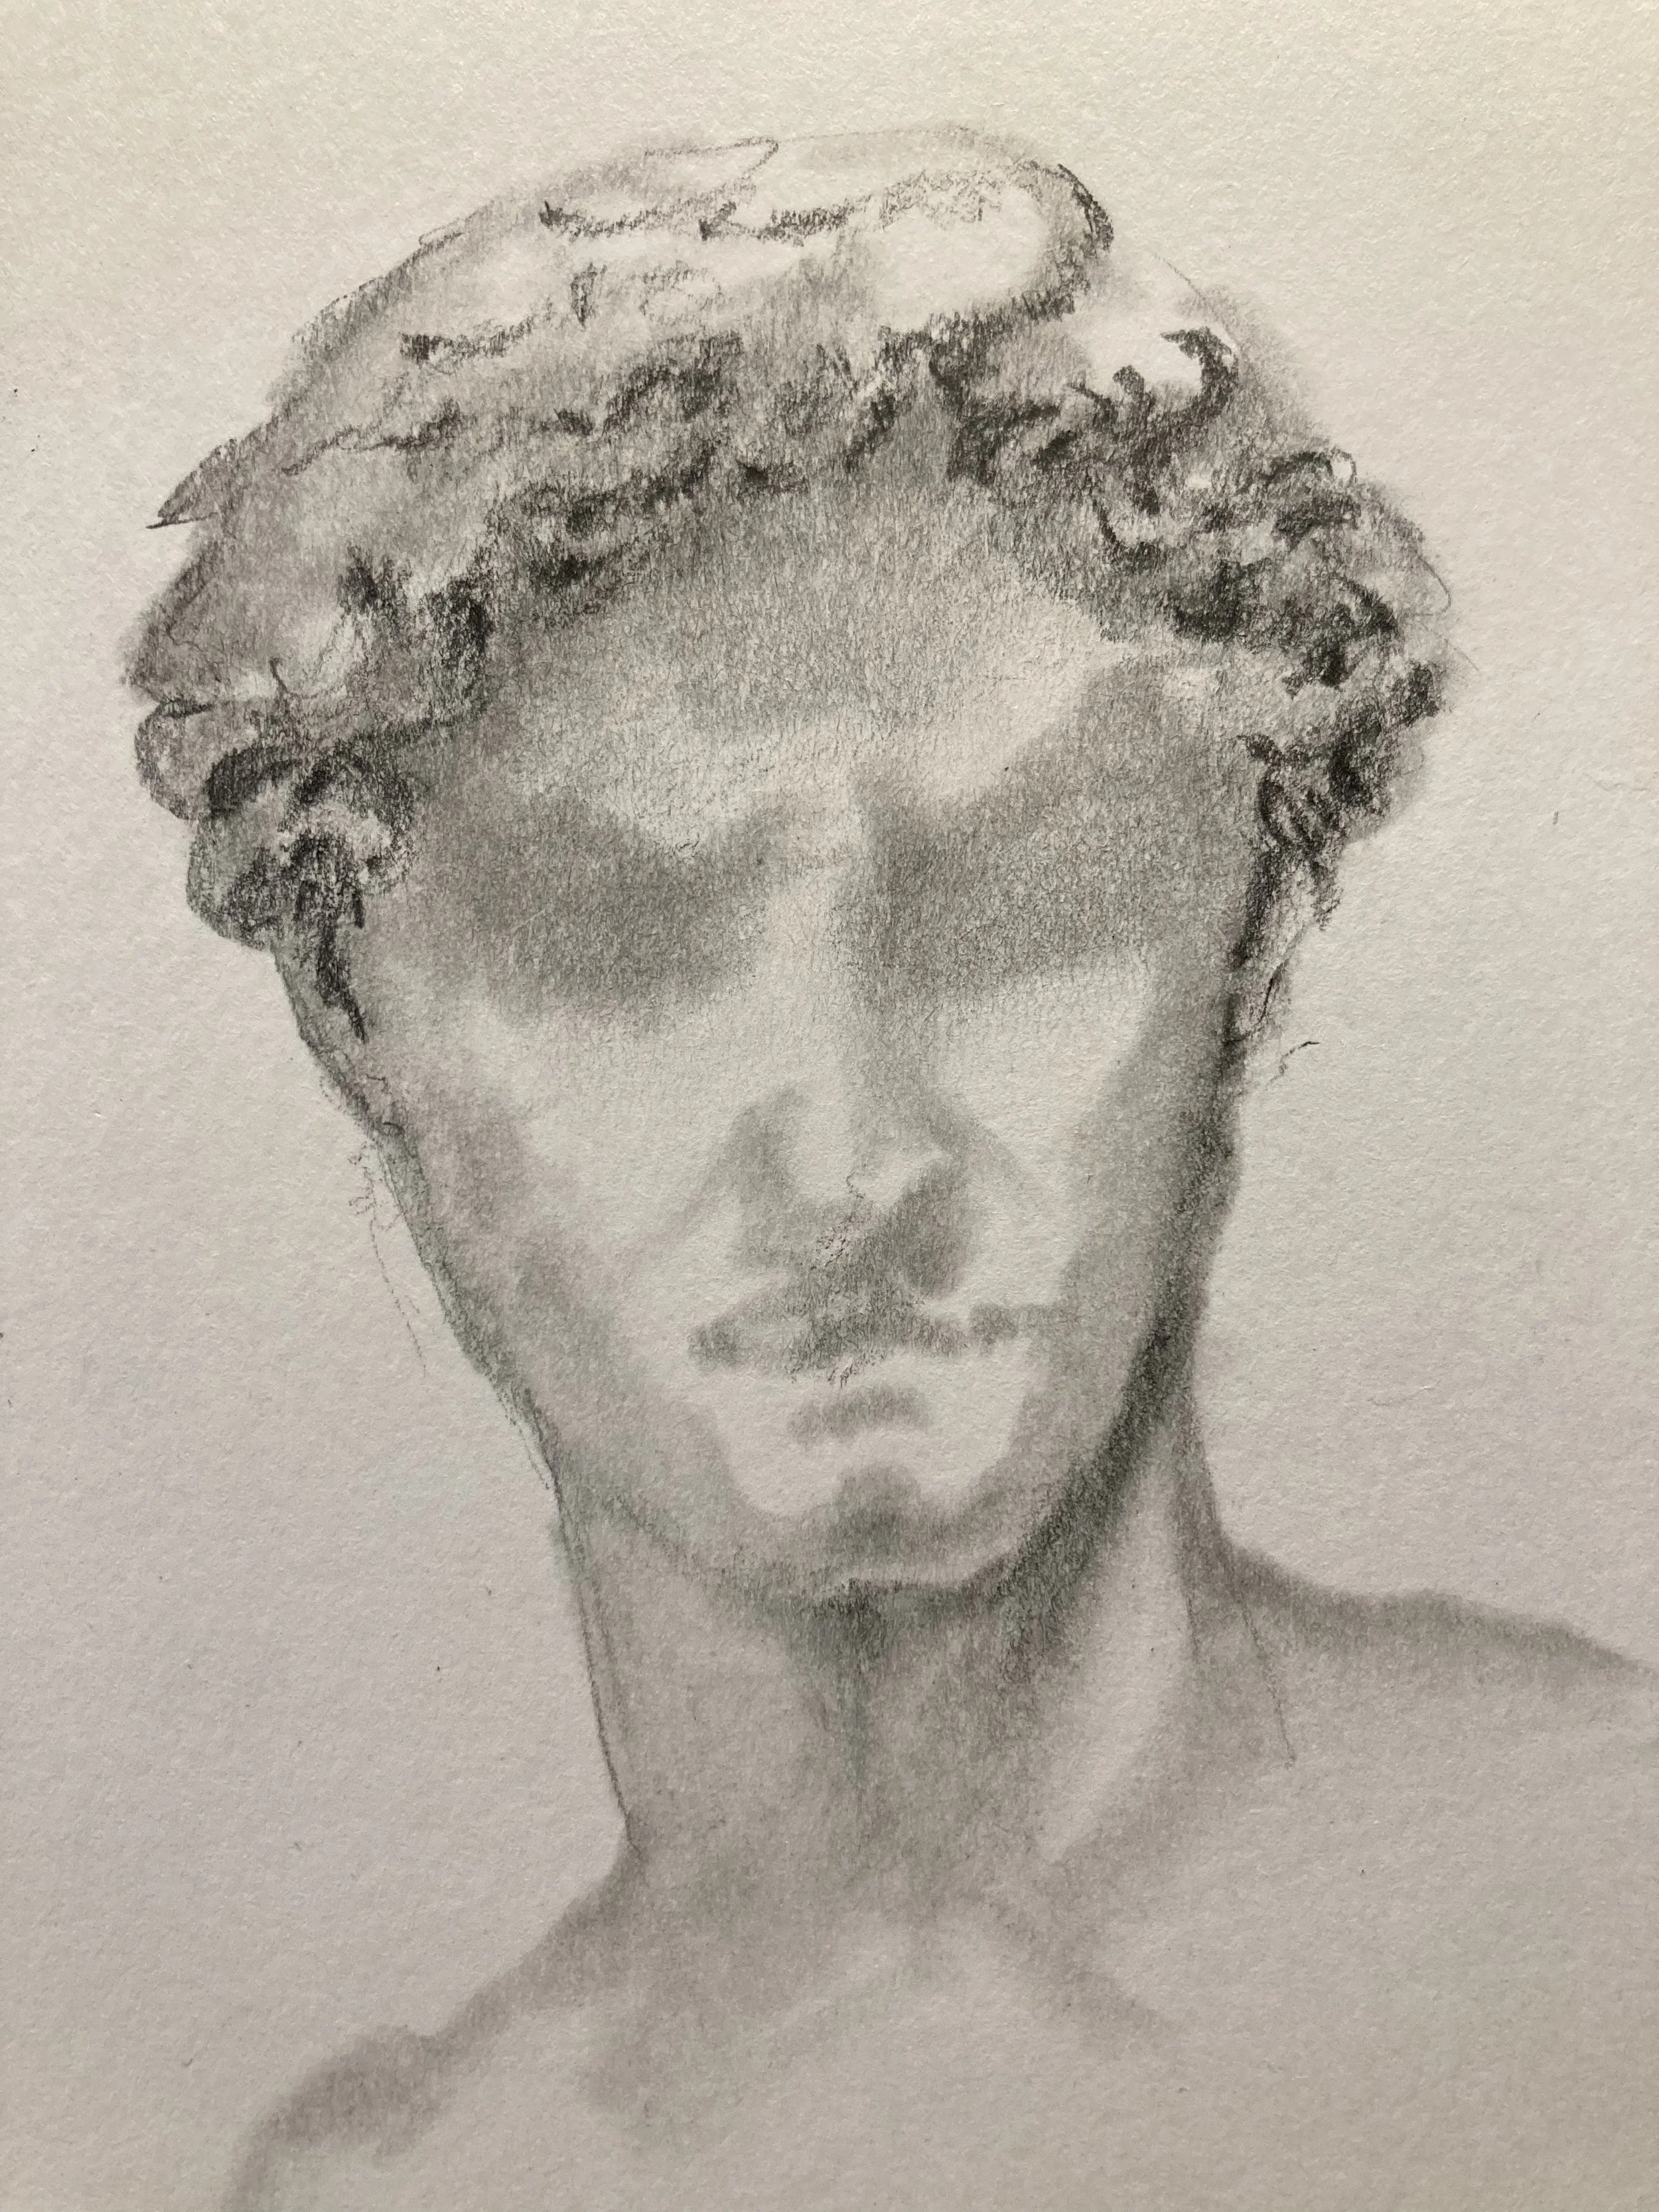
After I did the second eye, I realise that it’s placed too near the first eye, but I’ve made a decision to carry on and commit to the mistake anyways. David looks a bit cocked eye and this mistake just shown me that I am rusty. What I did is a very important steps that I think a lot of beginners students need to do. I kept going. Yes The Eye is still in the wrong place.
David’s right eye is in the wrong place.
I will suggest to students to let their mistake happen, and to continue the sketch anyway. I will explain why.
Why Erasing mistakes will not help you improve
You might be asking yourself, but why don’t I just erase that mistake and fix it? Ofcourse there’s no rules that says you cant do that, but I learn a lot more from my own work, when I carry on forward instead of stop and go back to fix a mistake I haven’t fully made. If you keep going, the drawing unfolds how off you are and what you missed, when you see the problem more clearly, it is easier to do it differently next time. This next time needs to happen pretty soon, if not immediately.
Start a new sketch immediately after you’re done actively scrutinising your finished work. Using my older works, I corrected what I noticed is wrong into the new work, while the information is still fresh. Correcting your own mistakes in the next drawing enforces further self-correcting and creates new pathways in your body and system that will remember next time you draw a portrait again. This is what smart practice looks like, I realise that this way of learning improves my skills more compared to going back to erase drawings mid sketch. Try it!
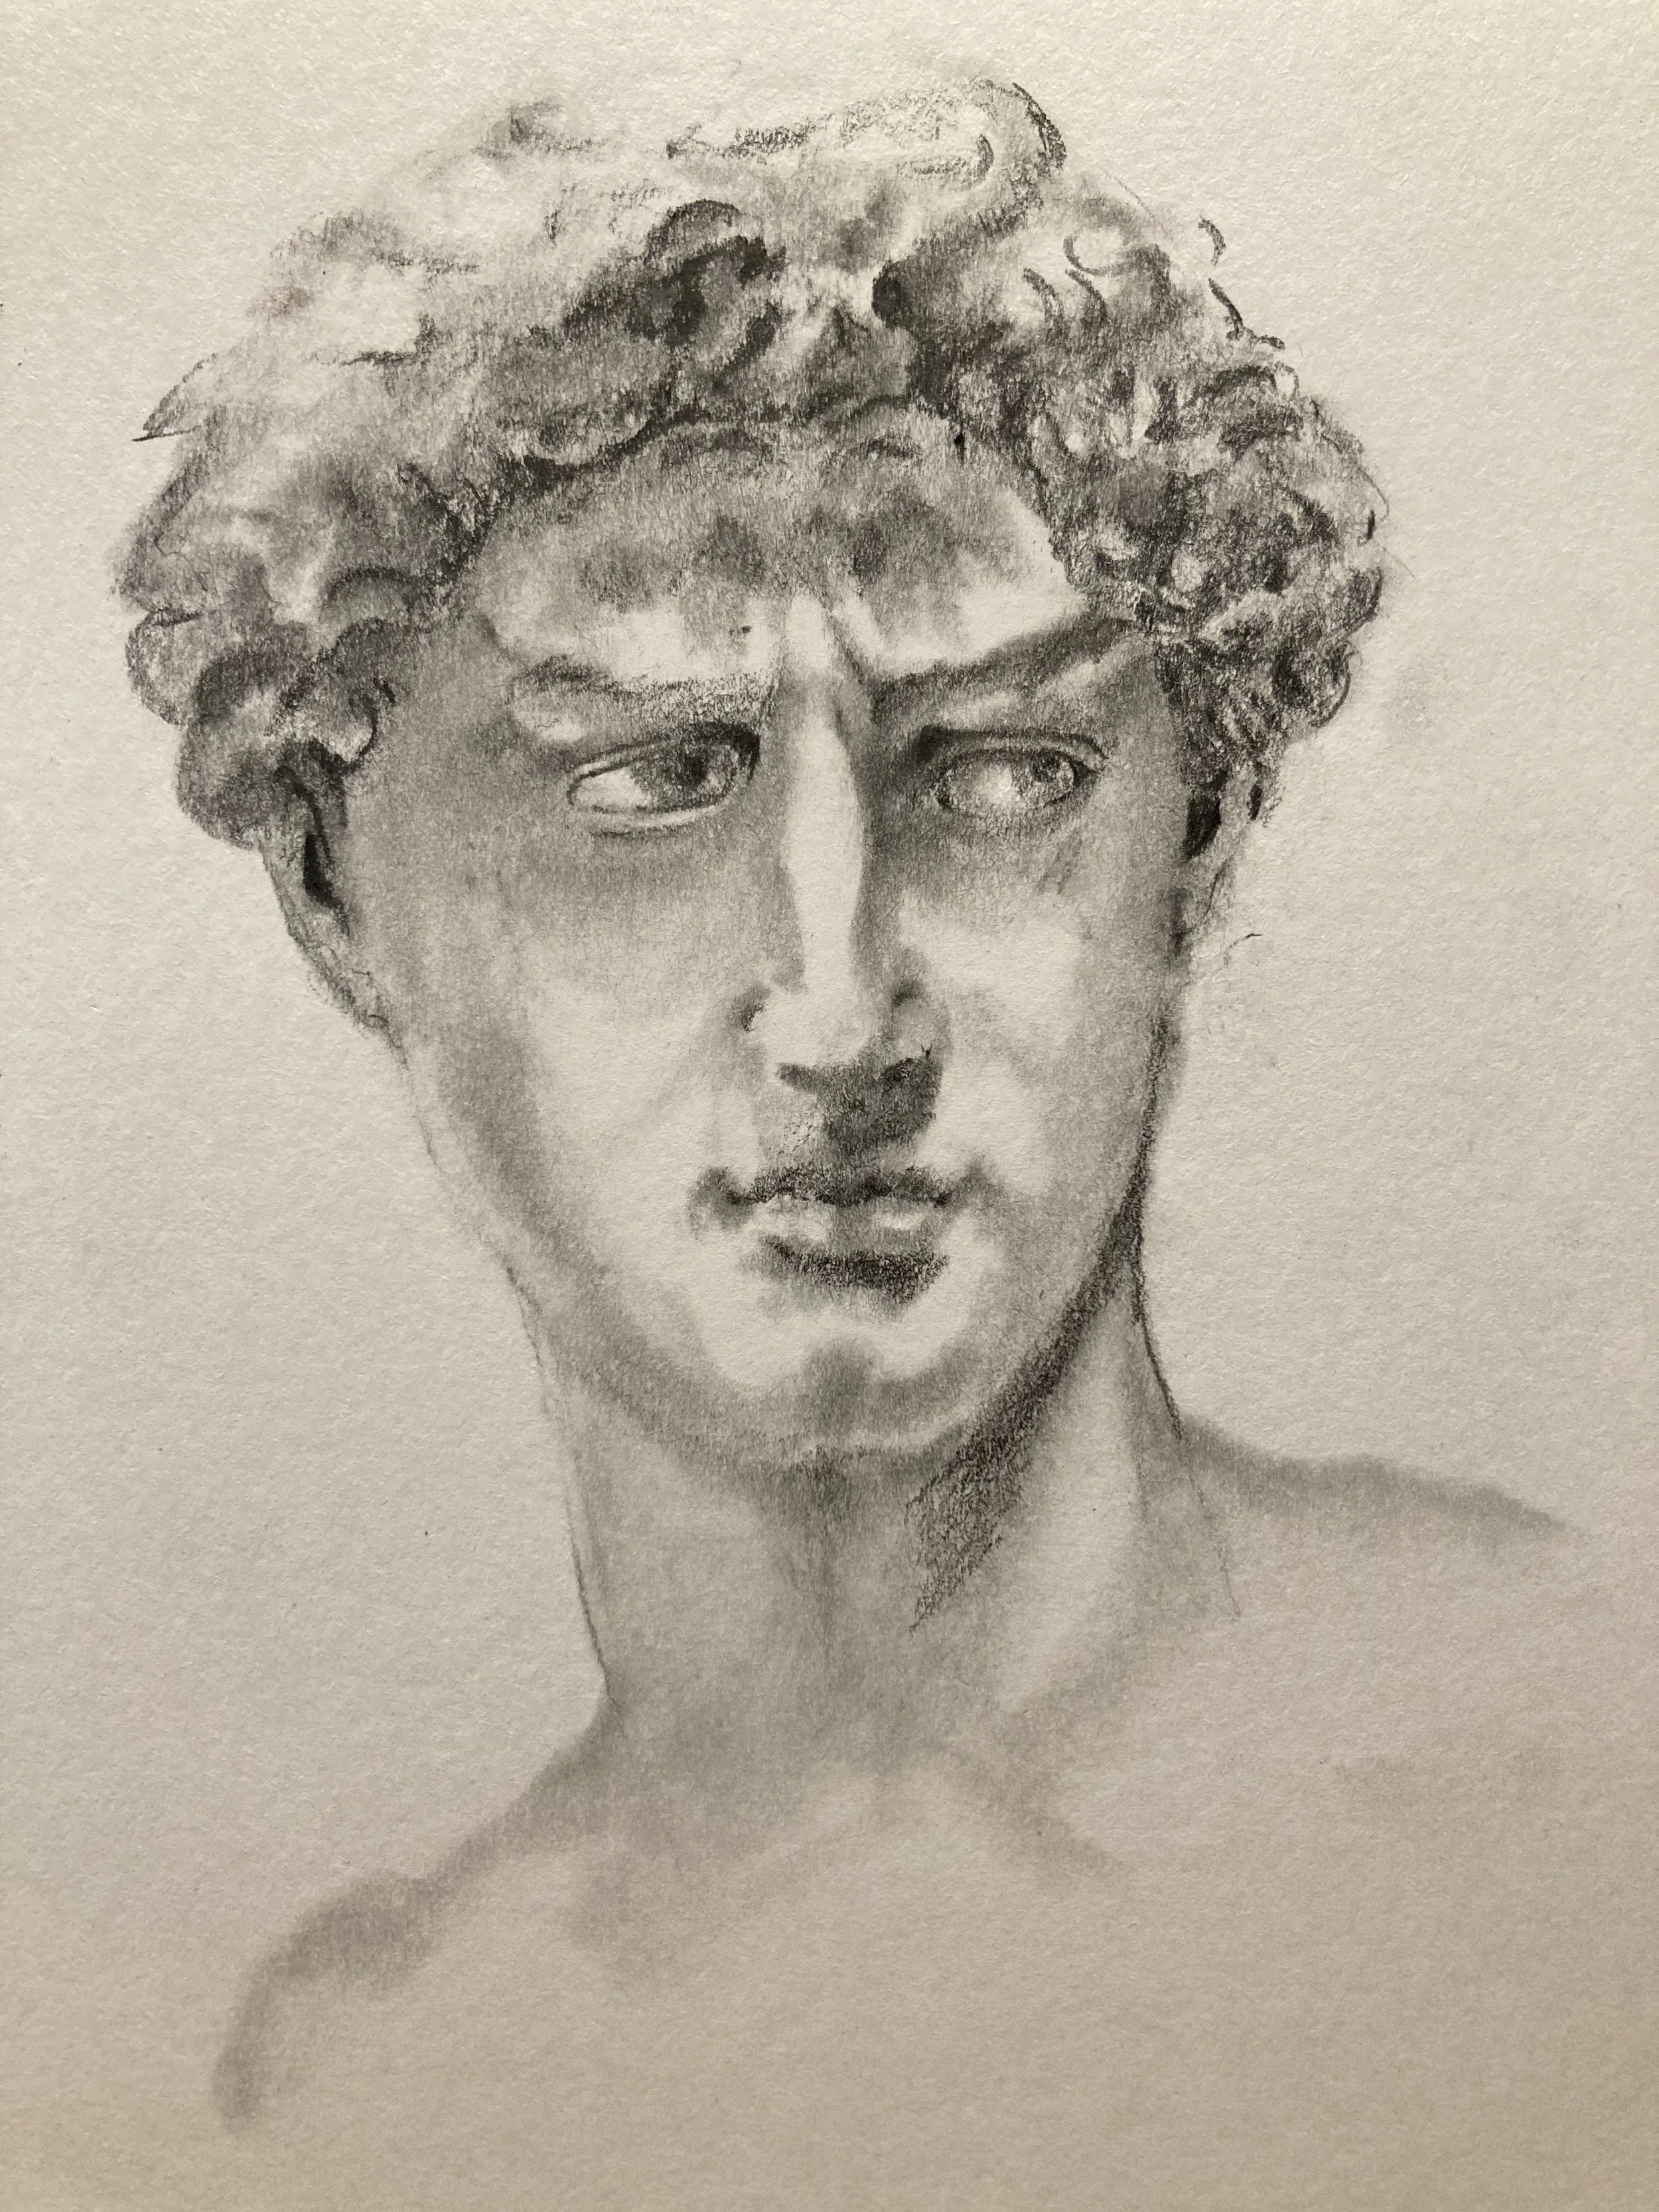
The final sketch here shows that even with a cocked- eye David doesn’t look so bad. The drawing is good, it is not great, but it is not bad. And the non-perfection acceptance is a friendlier, more compassionate way to learn and a much more interesting way to improve IMHO.

See you in the next article.
Susan