The one about Drawing Still Life correctly
If you want to draw still life correctly, this is my notes about using visual RELATIONSHIP thinking.
Setting up your still life composition (at home) for drawing practice.
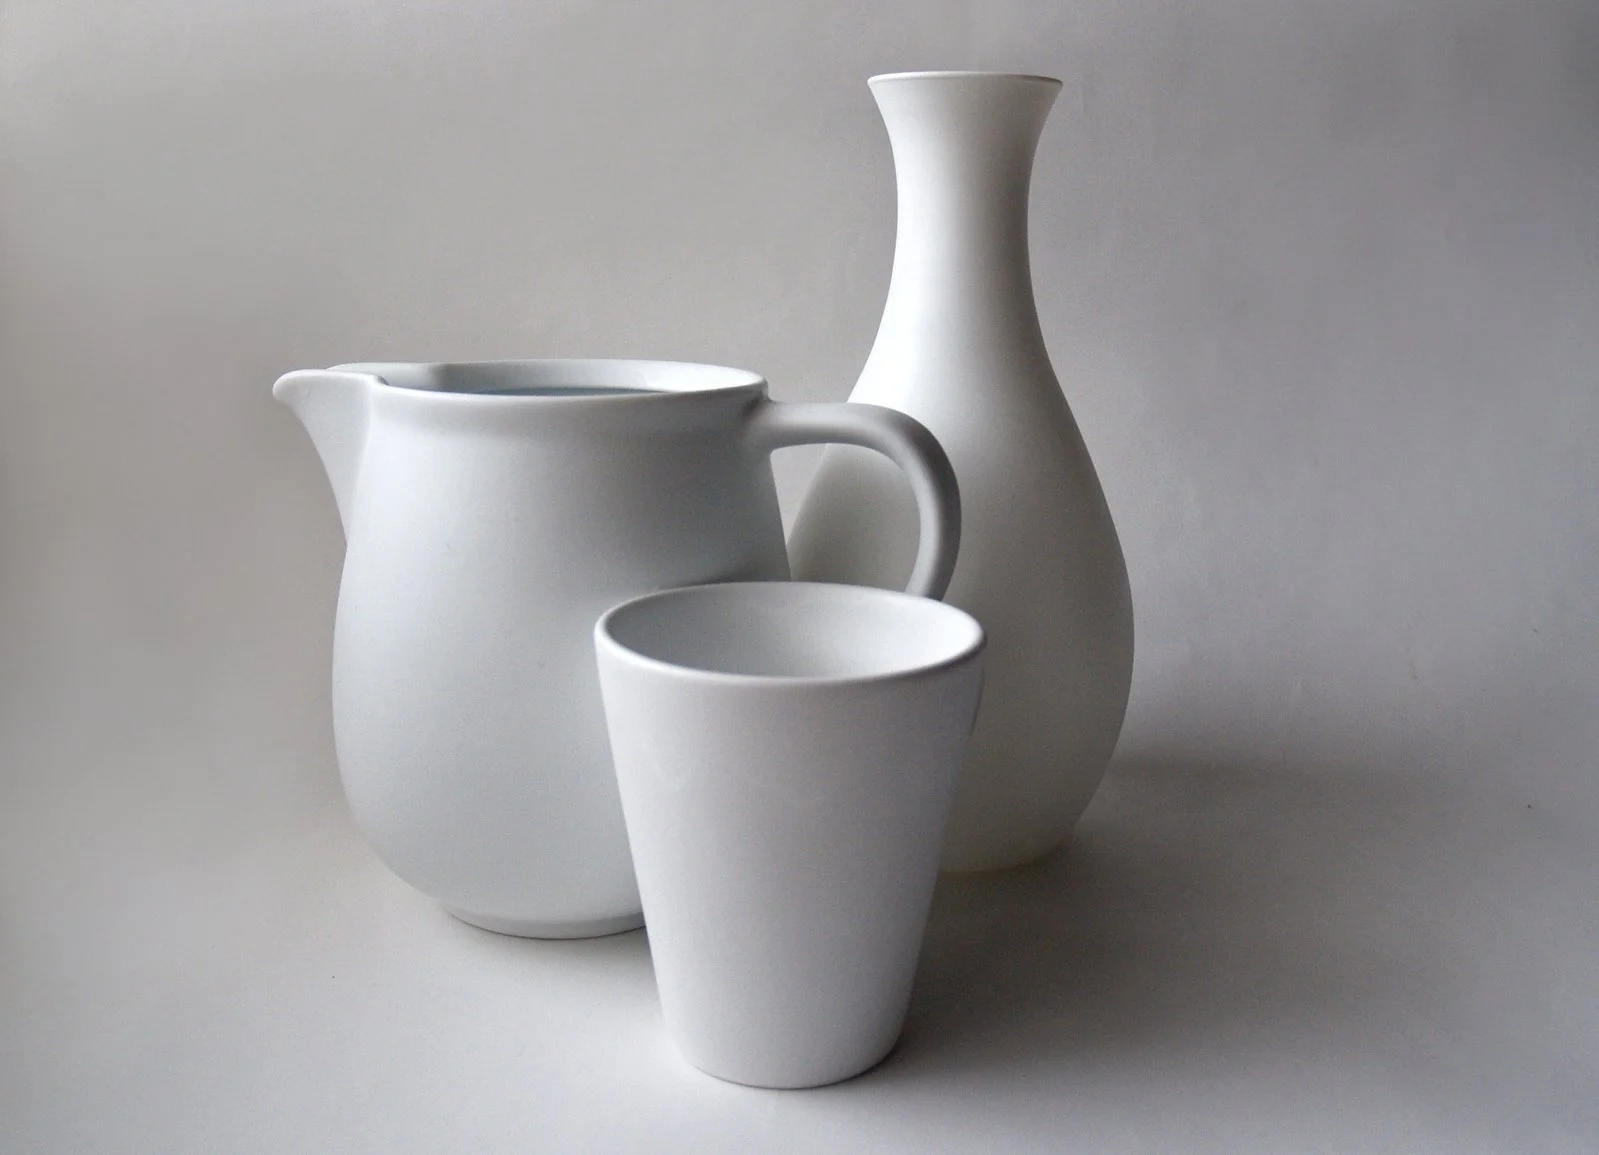
How to compose interesting still life arrangements has been covered in the blog about Composition and perspective. So this blog post is about how to create your own still life composition, I recommend a variety of shapes, from simple to slightly complex. Look for solid coloured objects that means the surface is plain, and without pattern or busy prints. I recommend to have a few objects that are simple in cylindrical shape, such as a cup, a glass. Then some shapes that offer more interest, such as an hour glass vase, or an curve shaped crockery such as a water pitcher, or a ceramic bowl. And then try to have size differentiation, a variety of smaller object looks nice in contrast of a bigger objects behind it. The classic still life in western art usually included a drapery, and sometimes a raised area covered in drapery so the composition is slightly more varied.
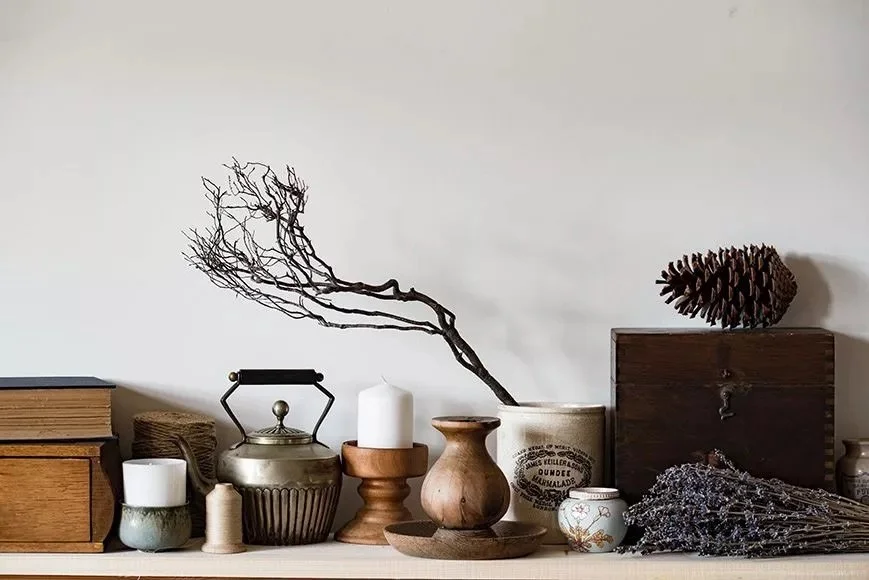
Interesting objects examples for still life drawing arrangements
Find a plain wall to put all these items on, and next you need to consider the lighting. It is best to avoid ceiling or overhead lighting because it tends to flatten the objects, and give it less shadow and light shapes. I recommend using a table lamp that can swivel so you can adjust the shadows to your liking, and use a one light source composition.
Once this is done, and you’re ready to start drawing. I recommend doing timed warm up sketches before you start on the long observation ones. The timed warm up sketches gives your body and hands time to adjust to what your eyes are seeing. And it also prepares your eyes for deeper seeing. I recommend 5 minutes x 2 or 3 thumbnail sketches. Focus on registering the shape, then the form, then the shadow. And by the 3rd thumbnails, focus on widening your view to the bigger picture.
And then draw for 45 minutes at a time.
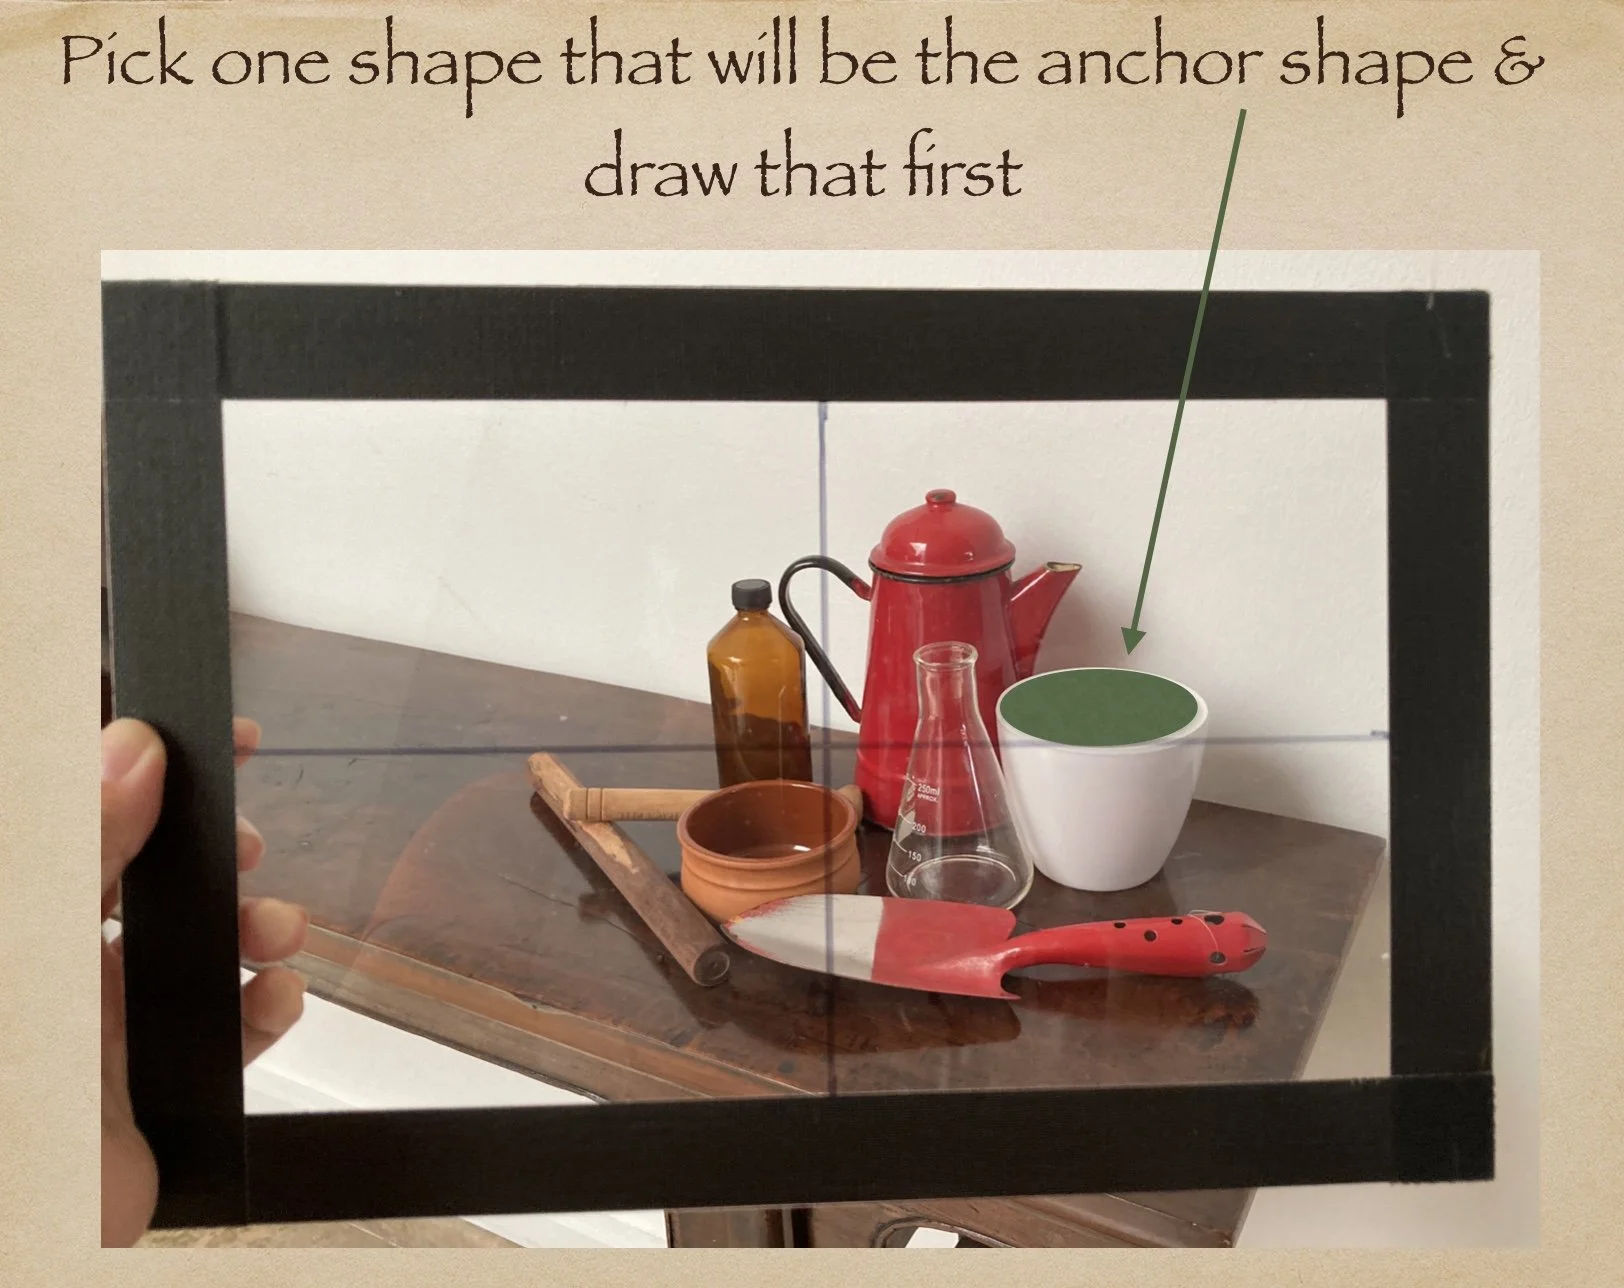
Use viewfinder on a still life composition
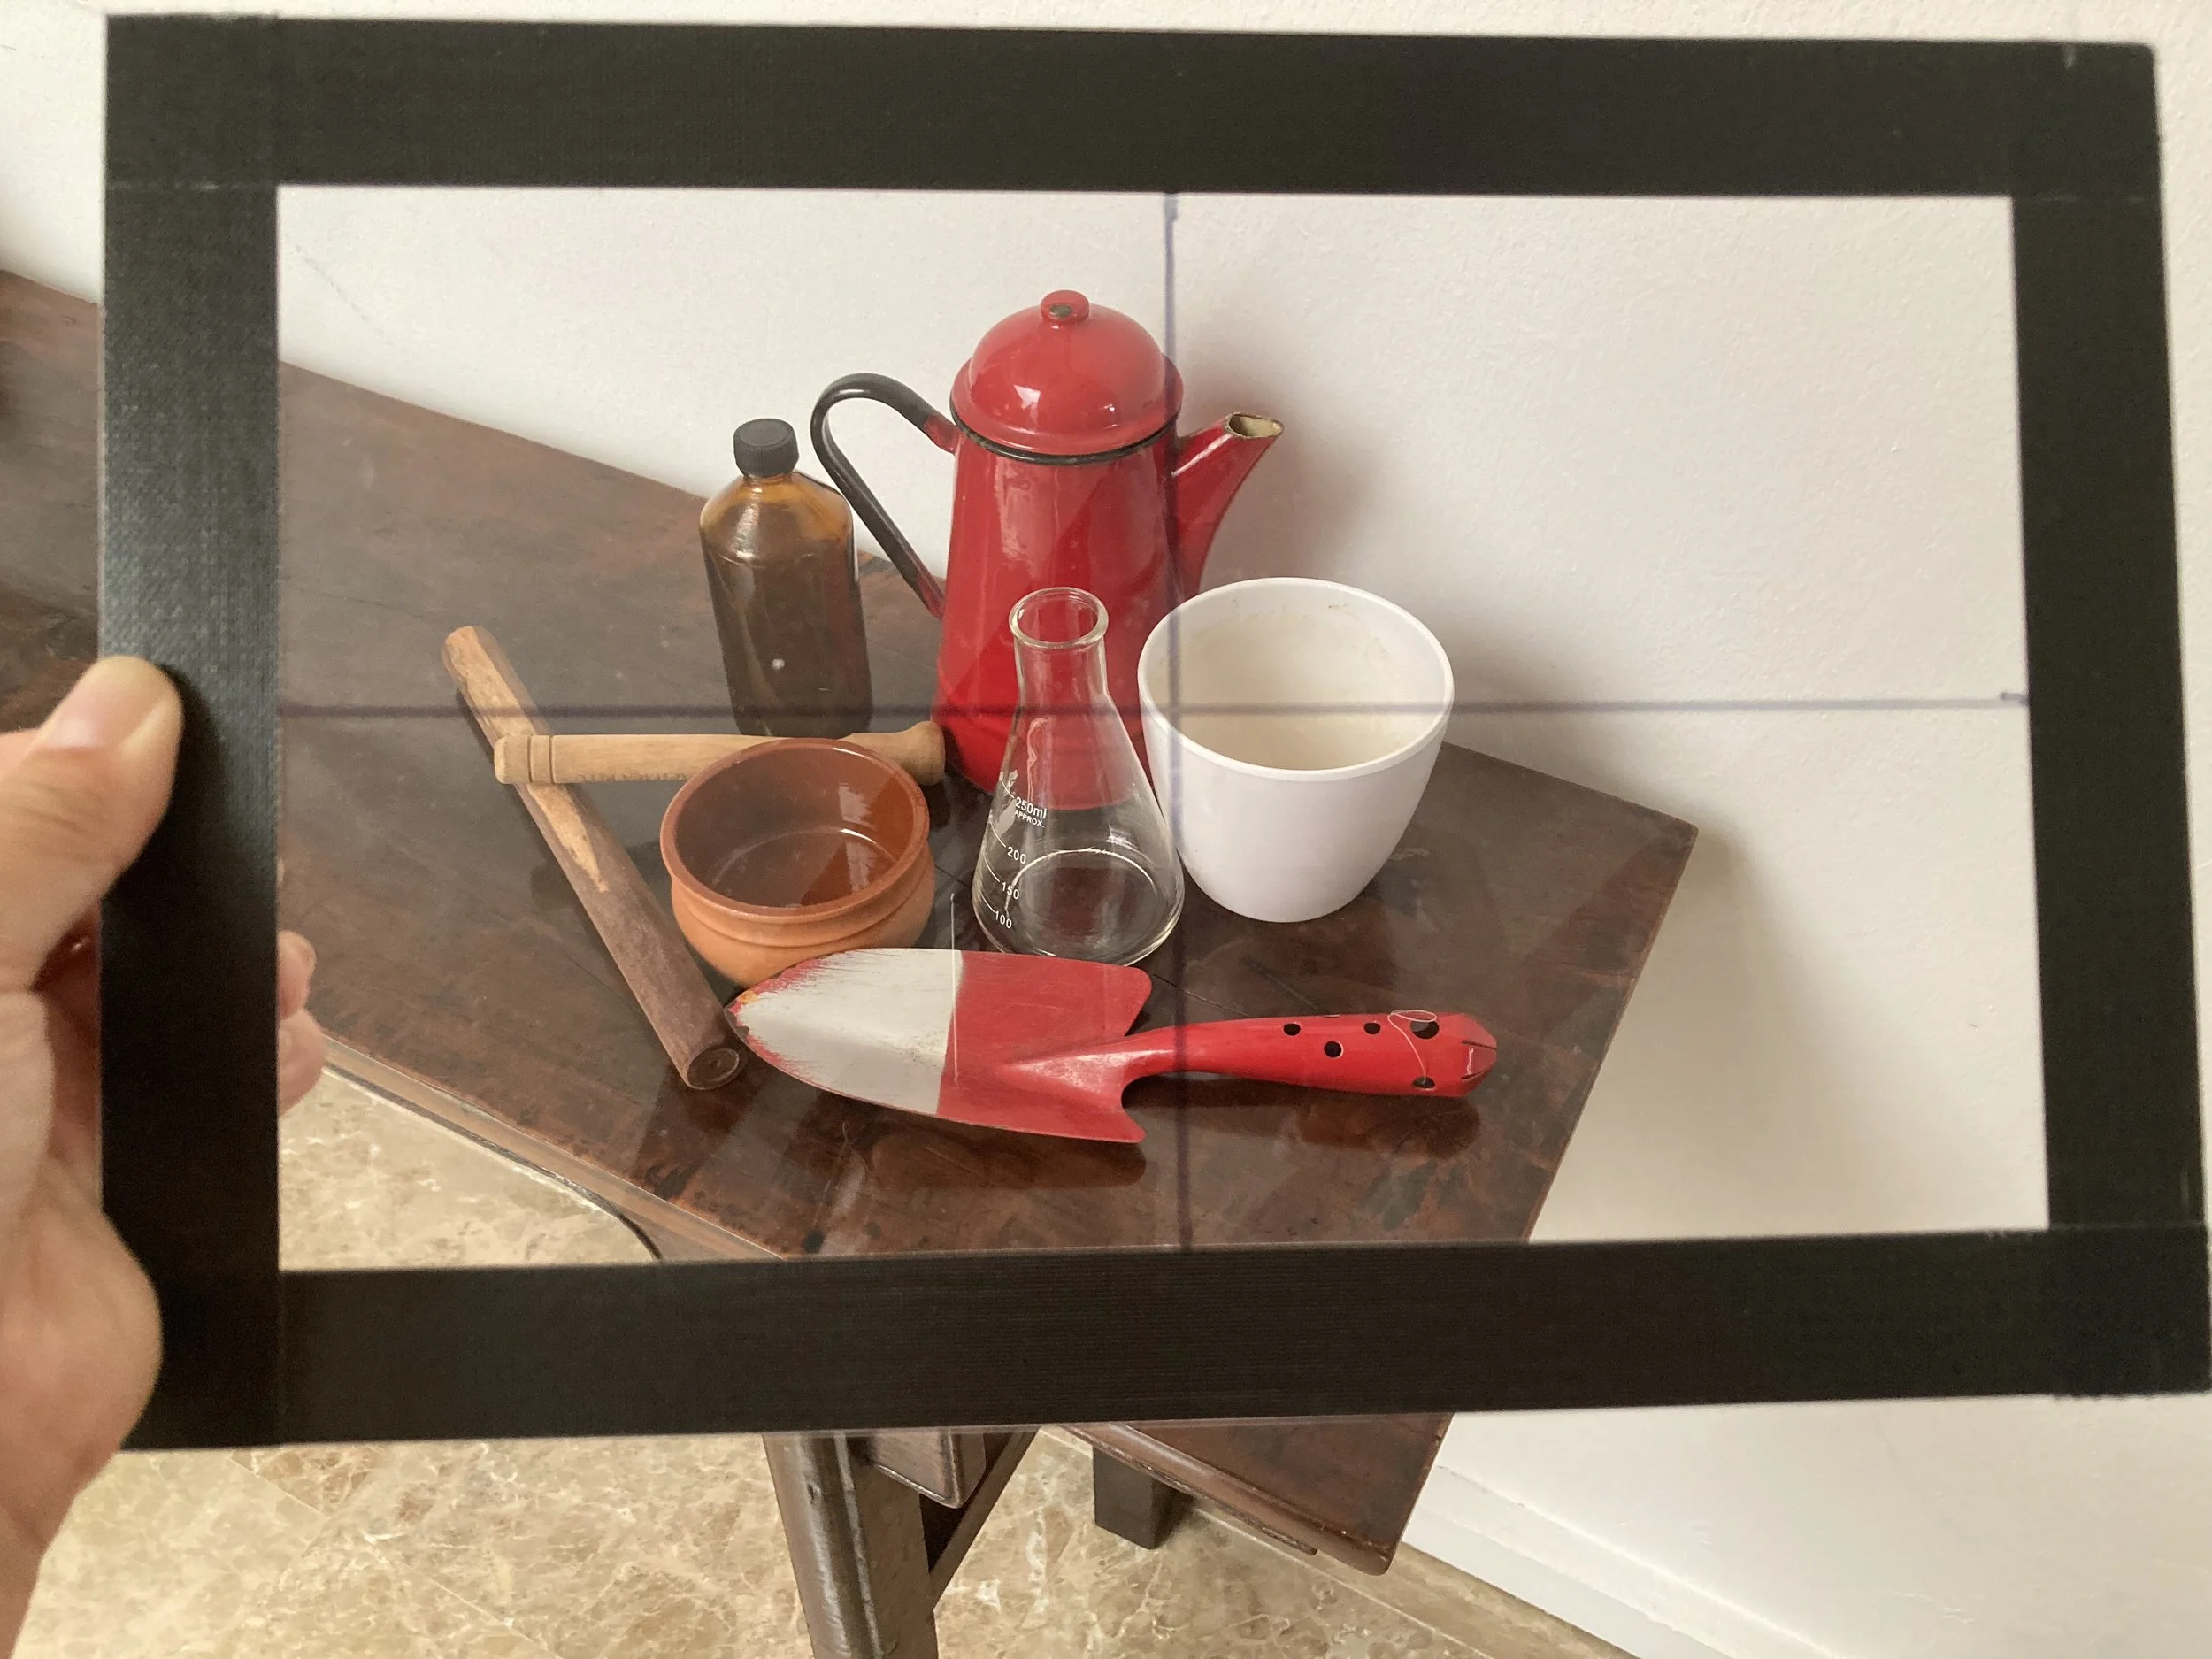
The viewfinder tool applied on still life arrangement
The viewfinder is your 2D filter, it helps your binocular vision flatten the three dimensionality of your vision. The viewfinder is not an alternative to the artist squint but is an excellent tool for beginners. Over time, you might use more the artist squint and less of the viewfinder, especially when you’ve become used to the flattening of shapes, and the concept of visual relationship.
Your viewfinder is a tool to help you flatten the depth that your actual eyes find difficult to see. Once you’ve realised how the flattening works, you can replace this with just the artist squint.
My artist squint
Find an Anchor shape of your choice.
The Anchor shape is a starting shape that you will use to measure all the other lines and angles of your subject/objects. Once you get the first anchor shape, you can move to other anchor shapes depending on how complex the still life is. This technique is often called the visual relationship, which was first introduced to me in Betty Edwards’s book.
This technique is not strictly applicable for still life drawings, it applies to all drawings based on observation you want to do correctly. It is also very useful for seeing other elements such as shadow shapes too.
Anchor shape might be awkward at the beginning but it is very very useful. Most of the time we don’t think of the objects we’re drawing as having relationships to its space or other objects, Even if there’s only one object, because we’re drawing in 2D paper, there is always a relationship between the object and the space around it and the viewfinder (2D filter) will help you see it.
So in week 10 Drawing class, your exercises will be to use the viewfinder and the Anchor Point to draw the still life arrangements. The still life arrangements are a collection of objects posed on a table to use as drawing reference.
This drawing exercise follow a limit of 45 minutes per arrangements. The idea here is to get our eyes used to the relationship thinking to draw, so repetition in similar variety of layout will be effective to grasp the technique, instead of just drawing one arrangements over and over again.
You don’t have to finish the drawings in 45 minutes, the goal of the 45 minutes timing is to give you enough time to practice seeing the relationships and to attempt visually connecting all the elements.
Every line, shape and form has a relationship to another line, shape and form. If you slowly could see these relationship and transfer those line, shape and form matching to your paper, your drawing will be believable, improved and will look better than if you don’t.

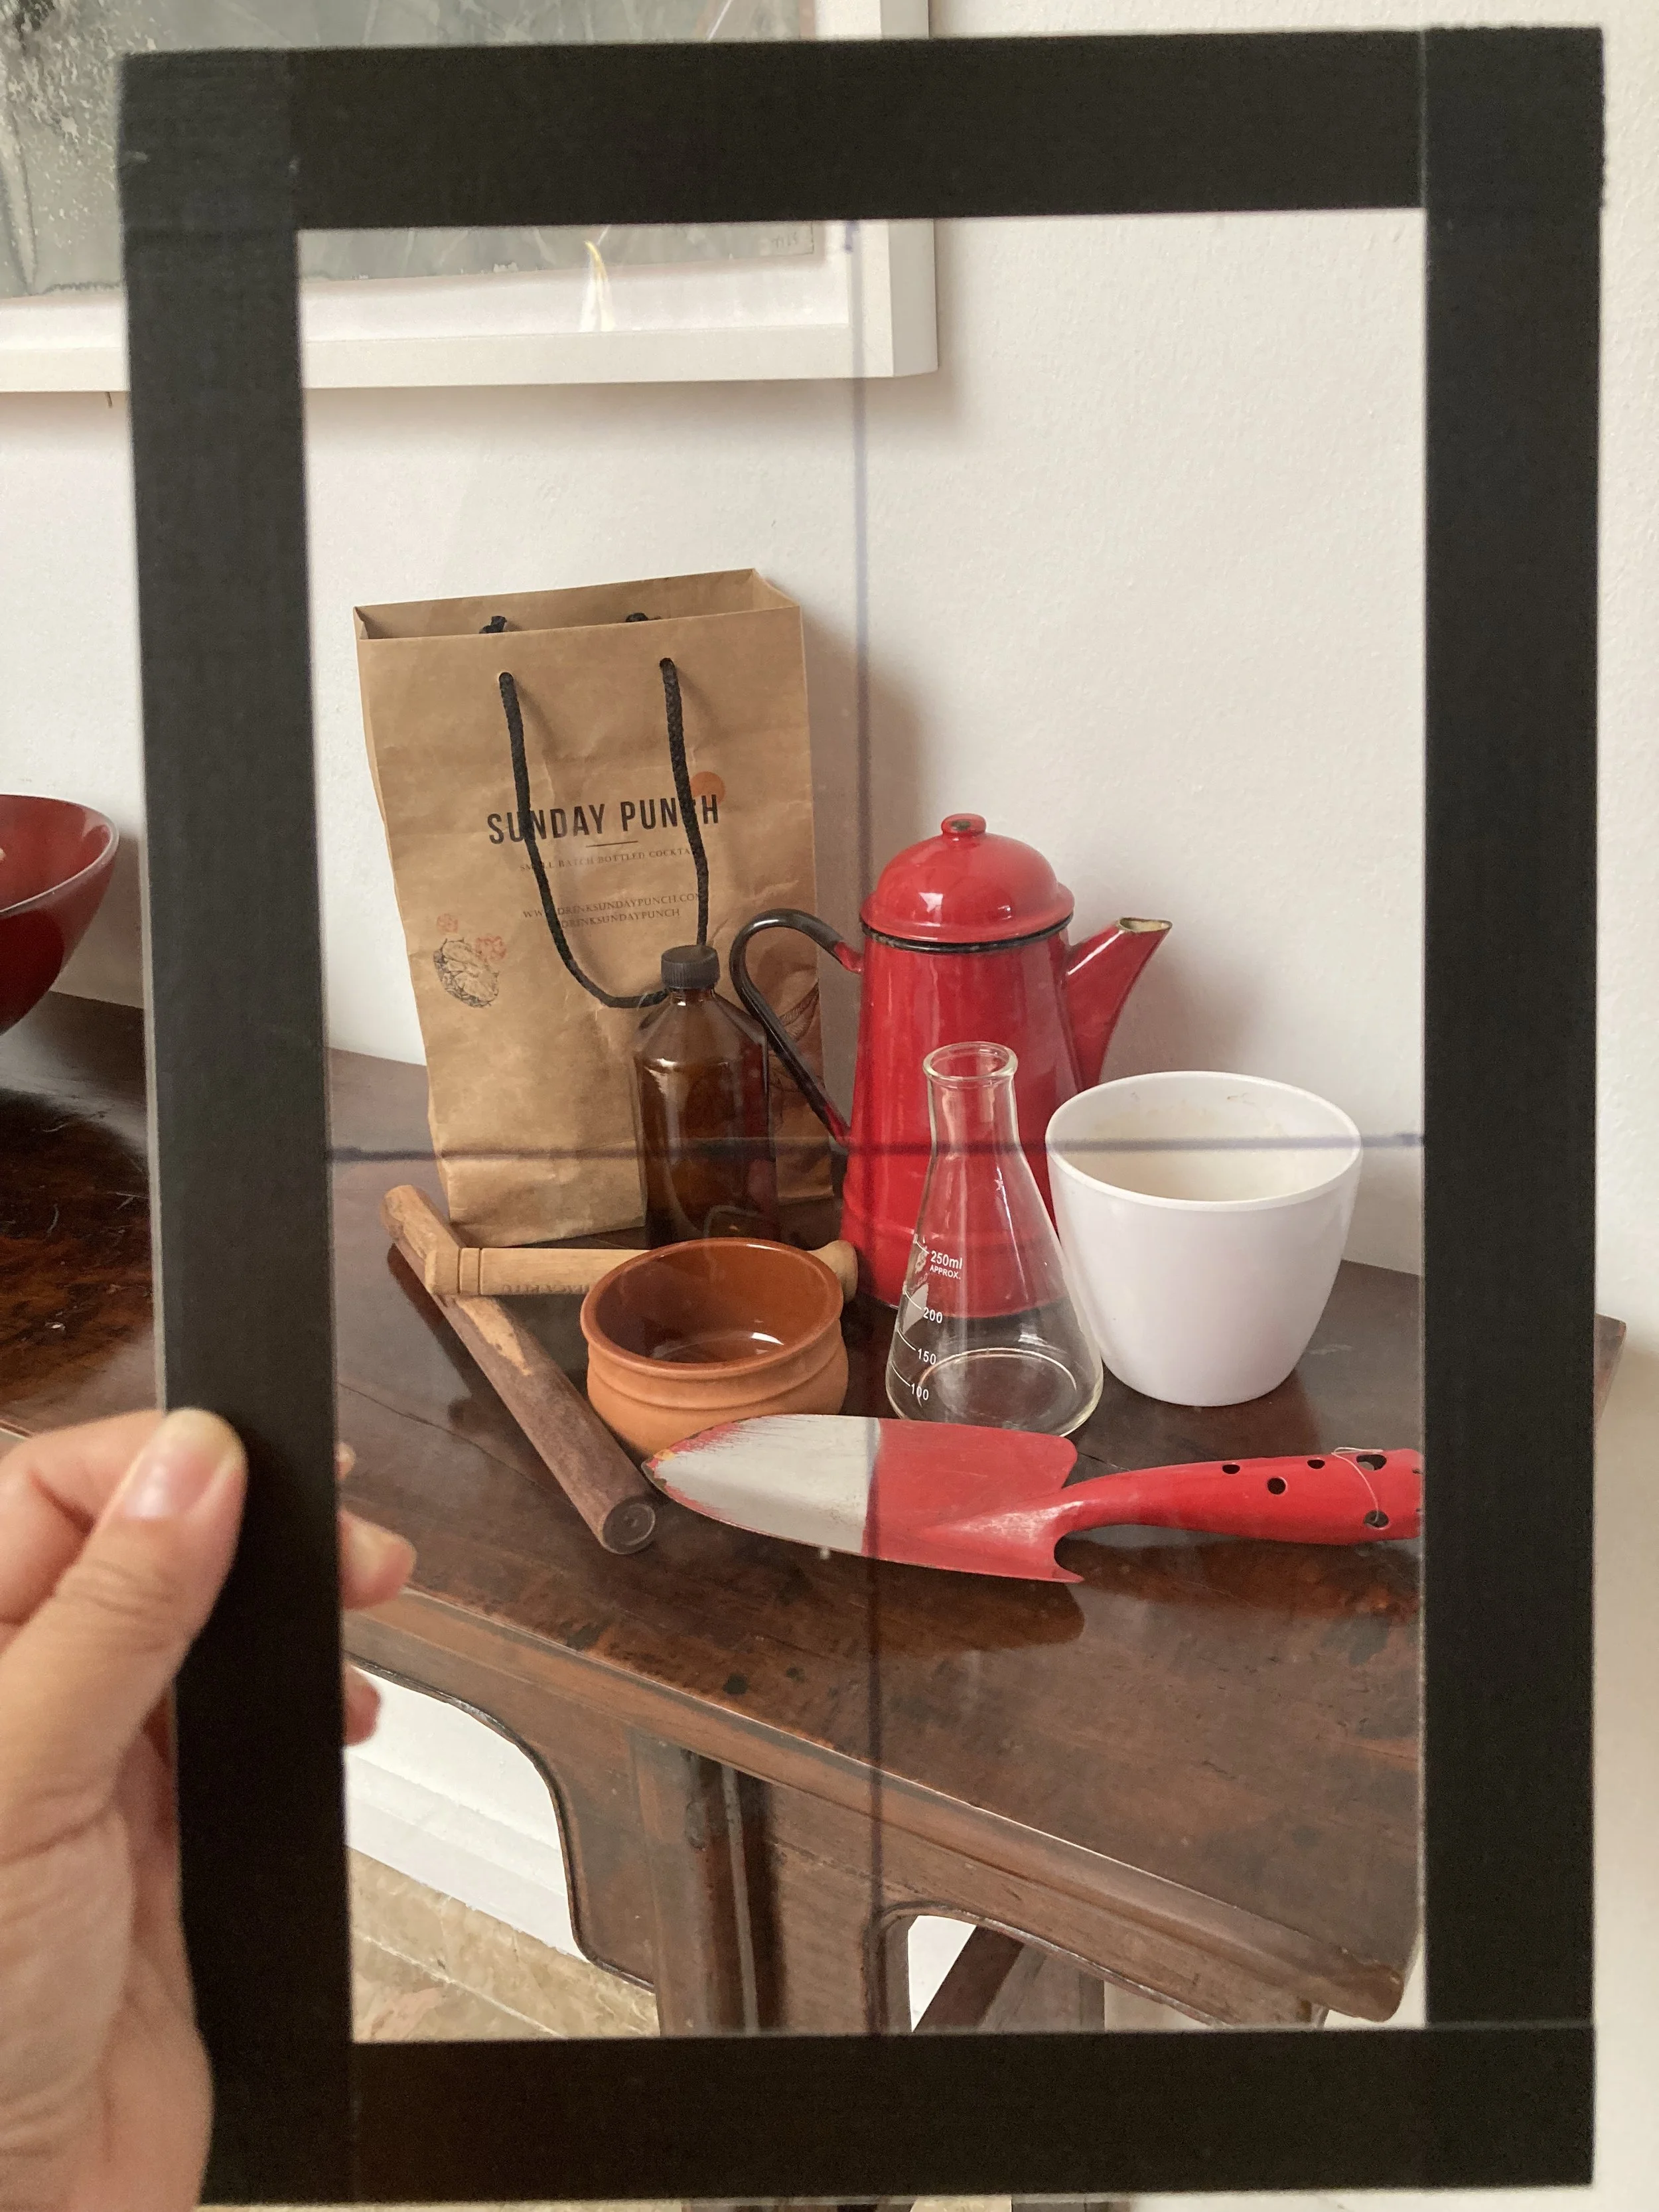
Transferring the main outlines only on the viewfinder tool
Relationship thinking is easier on 2 dimensional surface, so if you take a photo of your object/subject. You can see relationships easier, but it must be practiced to fully emerge as a skill.
In this exercise, looking and seeing are distinctly two different things. When you’re looking, you’re not always seeing. What you see with your drawing is often visibly at odds with what your thinking brain thinks it’s seeing. Folks, this is the key to evolving your drawing skills. When you can be comfortable with feeling that oddness because your thinking brain does not agree with your seeing skills. It’s almost certain that at that point your drawing is improving or has improved, and that little bit of progress goes a long way to make you want to draw more.
Enjoy grappling with this method.
Susan